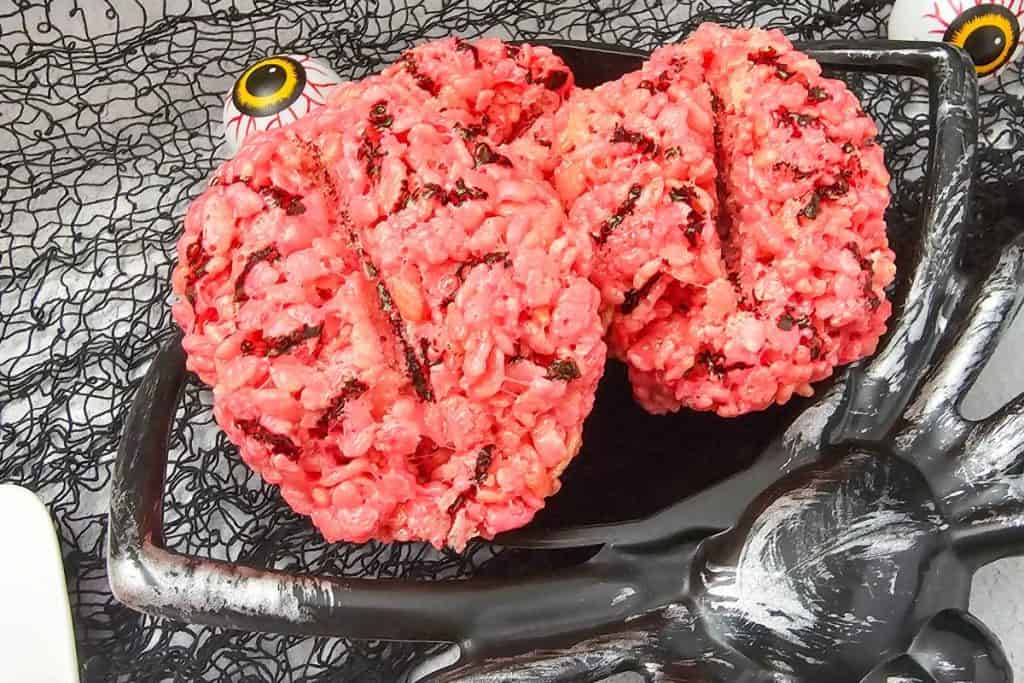
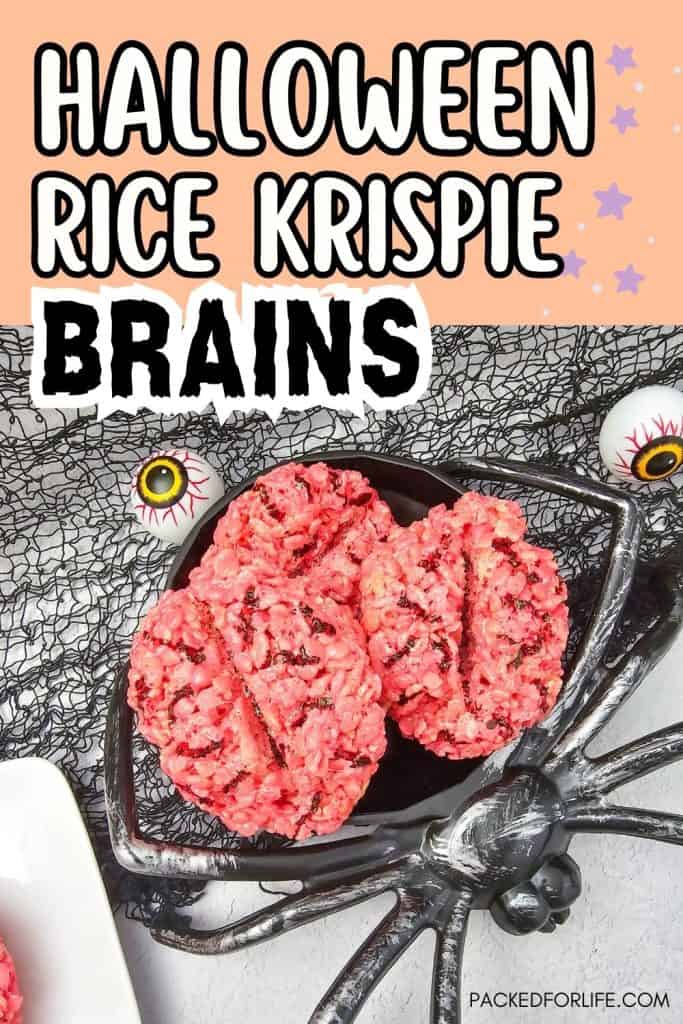
Creepy Rice Krispie Brains Are Fun Halloween Zombie Treats
Packed for Life contains affiliate links. If you make a purchase using one of these links, we may receive compensation at no extra cost to you. As an Amazon Associate, I earn from qualifying purchases. See my Disclosure policy for more info.
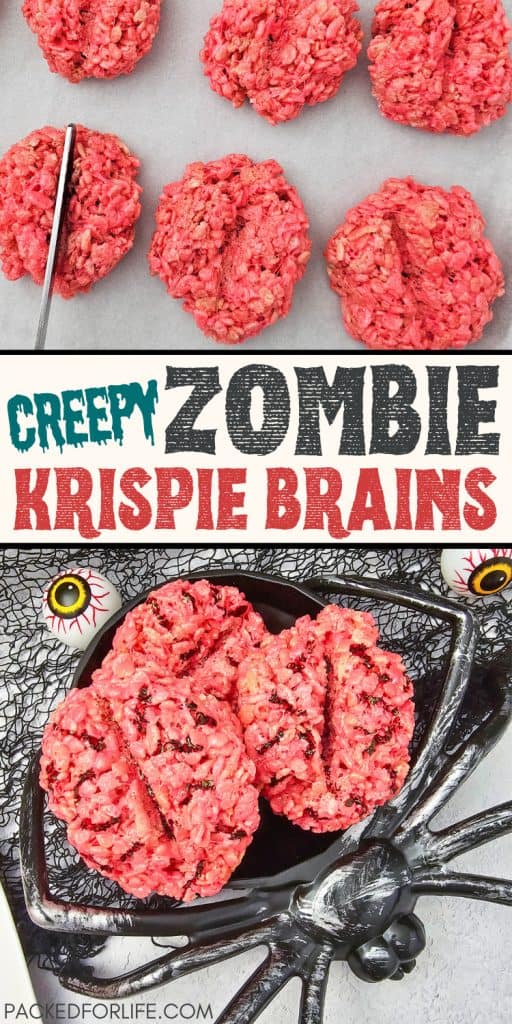
Creepy Halloween Rice Krispie Brains are a spooky twist on classic rice krispie treats, only this time, they look like little brains fresh from the mad scientist’s lab. Soft, chewy, and just the right amount of creepy, these make a eerily fun addition to your Halloween spread. They’re no-bake, kid-approved, and perfect for parties, bake sales, kids lunch box treats or a quick after-school scare.
Halloween Brains Rice Krispies Treats
If you’re on the hunt for easy, make-ahead and no bake Halloween treats that bring the “eww” and the “yum” all in one bite, these Creepy Halloween Krispie Brains are it.
As a mom of three who’s been in charge of more than a few classroom snack tables and spooky dessert spreads, I know themed treats like this vanish faster than you can say “Zombie apocalypse.”
I love that these Halloween Rice Krispie treats require just a handful of ingredients, a dash of food coloring, and a little shaping magic to transform them into brainy masterpieces. You’ll have a lab full of tasty brains to eat in no time.
They’re simple enough for kids to help make and spooky enough to impress at any Halloween party for kids or adults. They’d also be a fun scary movie night snack or a Walking dead watch night treat.
Add them to your list of school party food ideas this year and your guests will lose their minds over them.
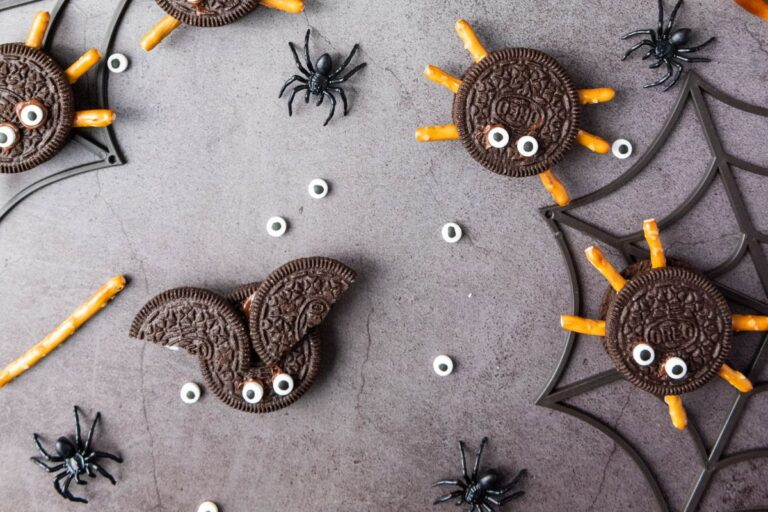
⭐️ Also check out our other favorite Halloween kids party treats, like these 10-minute monster rice krispie treats, and my daughter’s favorite cute pumpkin oreos.
Why You’ll Love These Zombie Brains Treats
Brains Krispie Treats Ingredients You’ll Need
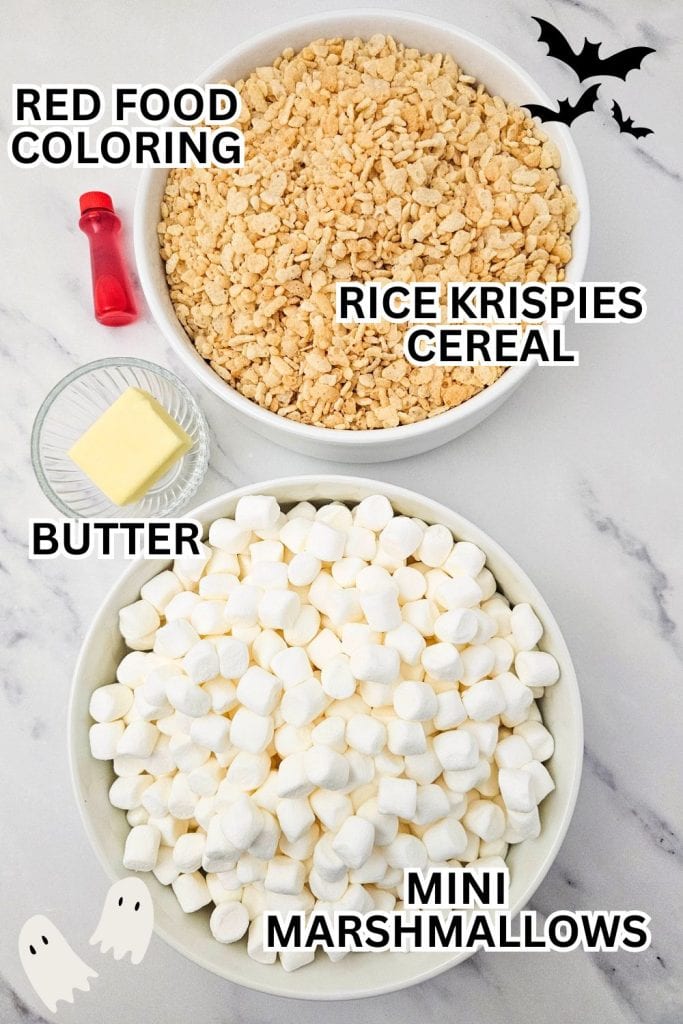
- 6 cups Rice Krispies cereal
- 3 tbsp butter
- 1 (10 oz) bag miniature marshmallows
- Red food coloring (about 4 to 5 drops for vibrant pink)
Equipment You’ll Need
- Measuring cup
- Large pot
- Silicone spatula
- Baking sheet or tray
- Parchment paper
- Ice cream scoop with trigger
- Butter knife
- Small bowl
- Thin paintbrush or toothpick (optional for extra “vein” detail)
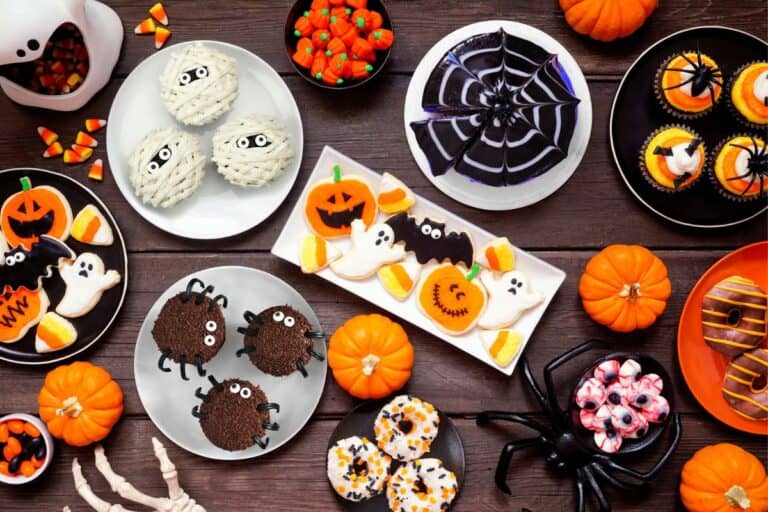
⭐️ Also try these creepy Halloween party treats and easy Halloween party appetizers
How to Make Rice Krispie Brains Treats
1. Prepare your tray
Line a baking sheet with parchment paper.
2. Melt the base
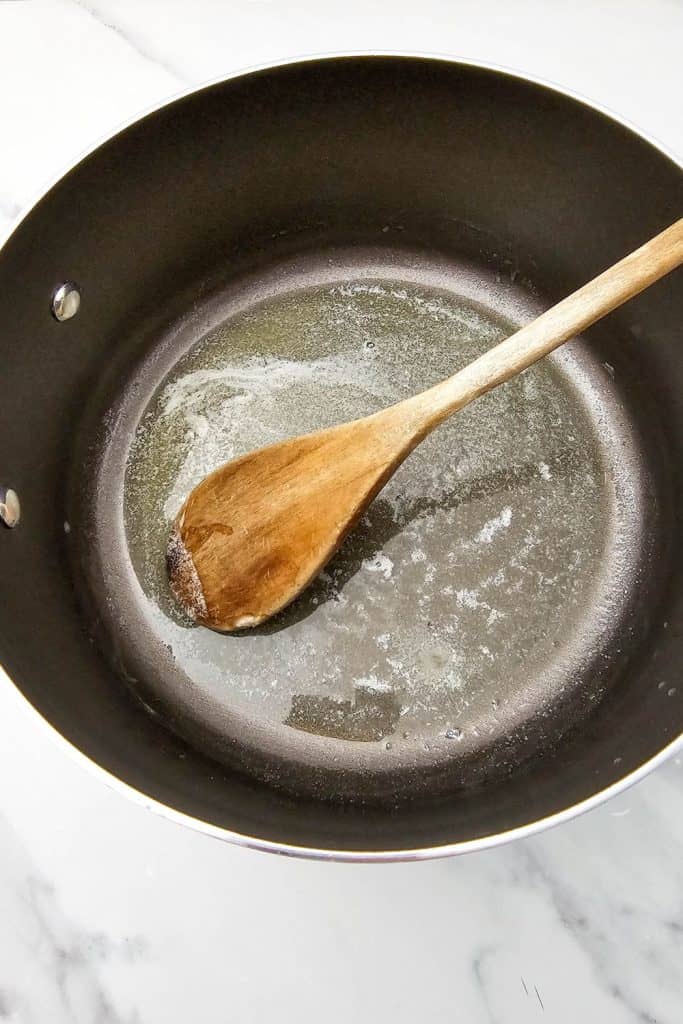
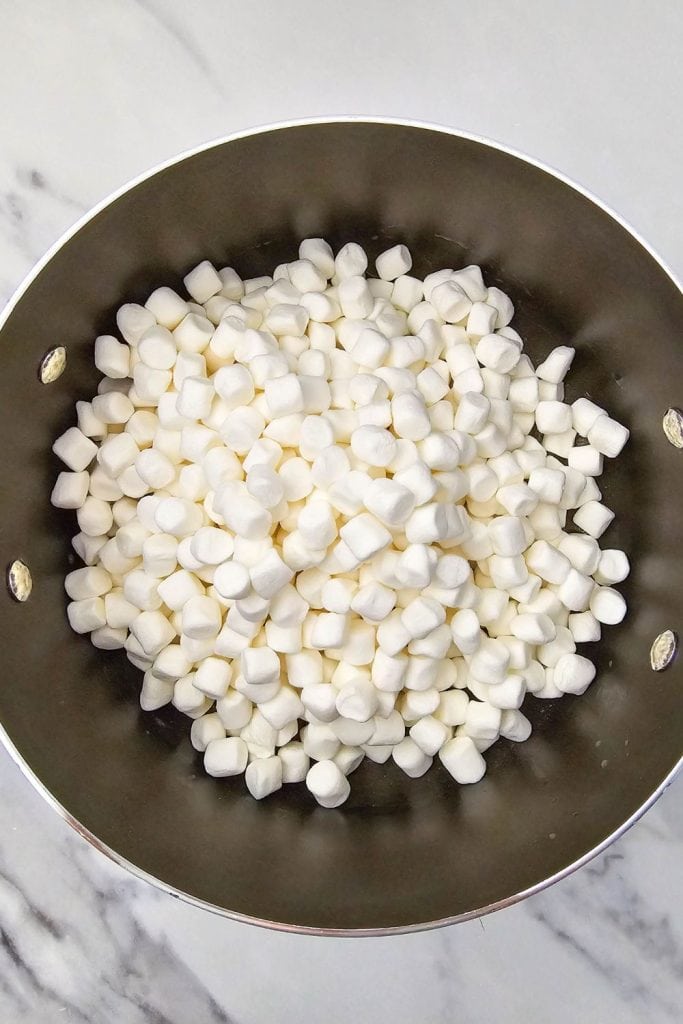
In a large pot over low heat, melt the butter. Add the marshmallows and stir until fully melted and smooth.
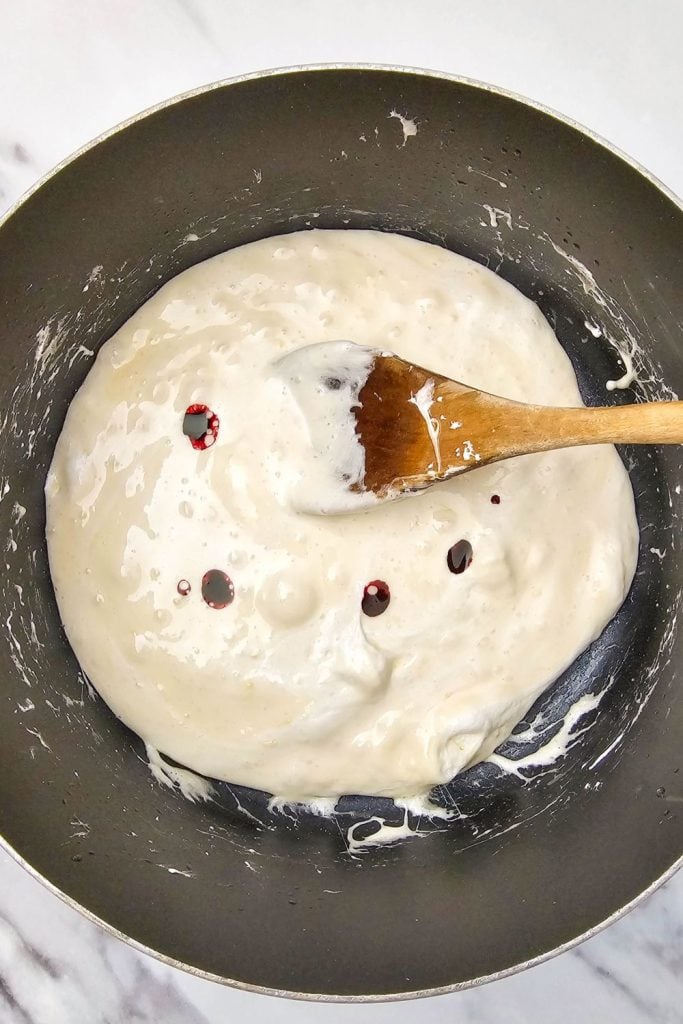
3. Color your brain goo
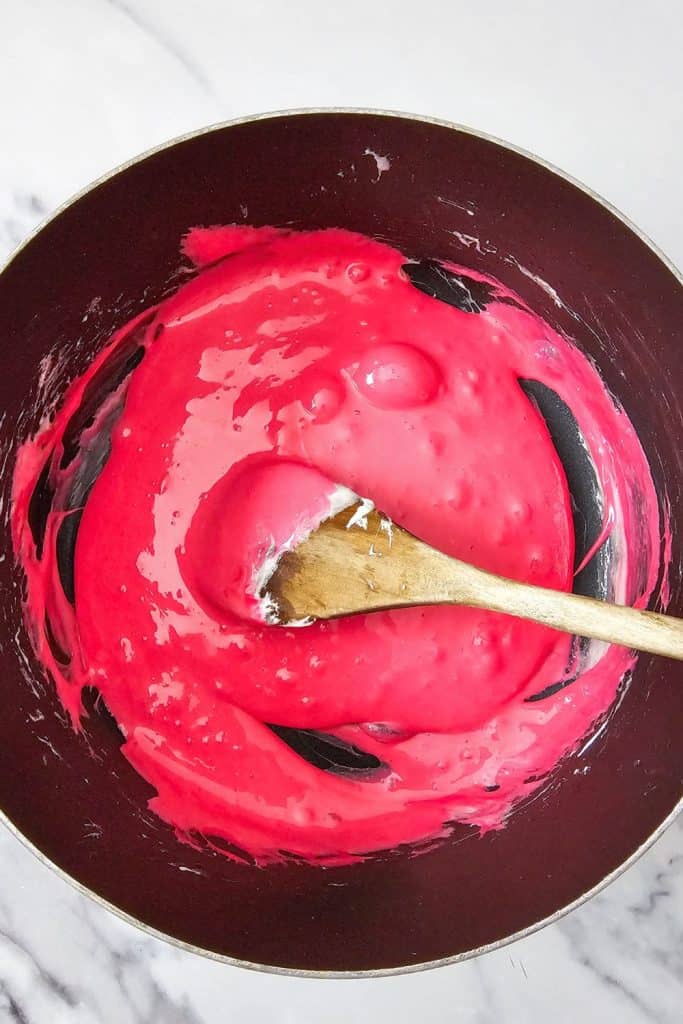
Stir in 4–5 drops of red food coloring until you reach your desired creepy pink shade. Use fewer drops for a lighter shade of pink.
4. Mix in cereal
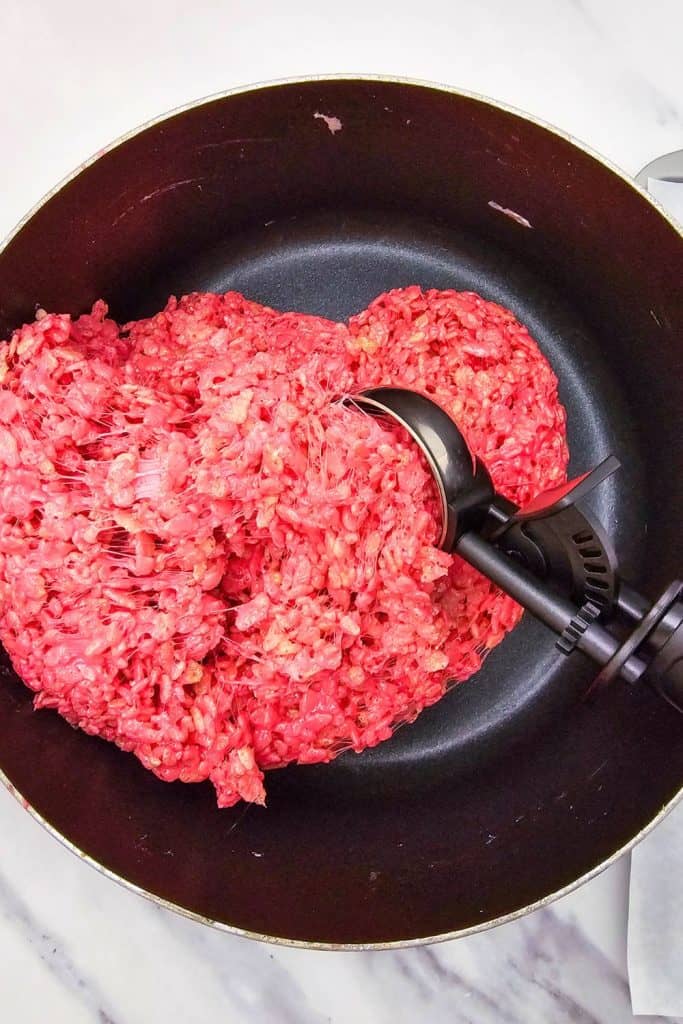
Add the Rice Krispies cereal and stir gently until evenly coated.
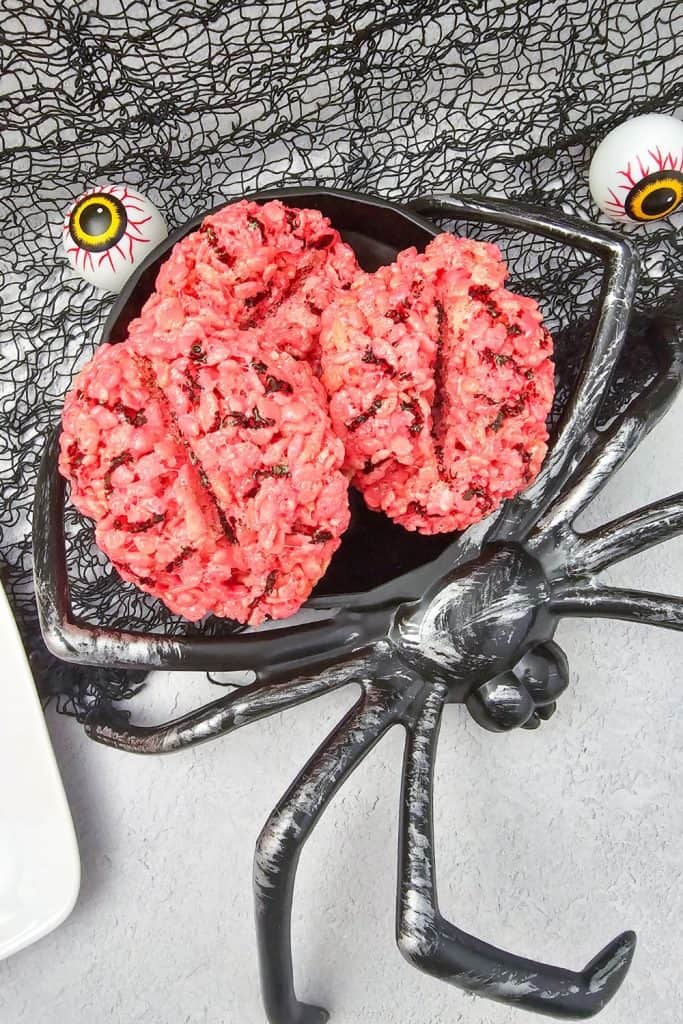
5. Shape the brains

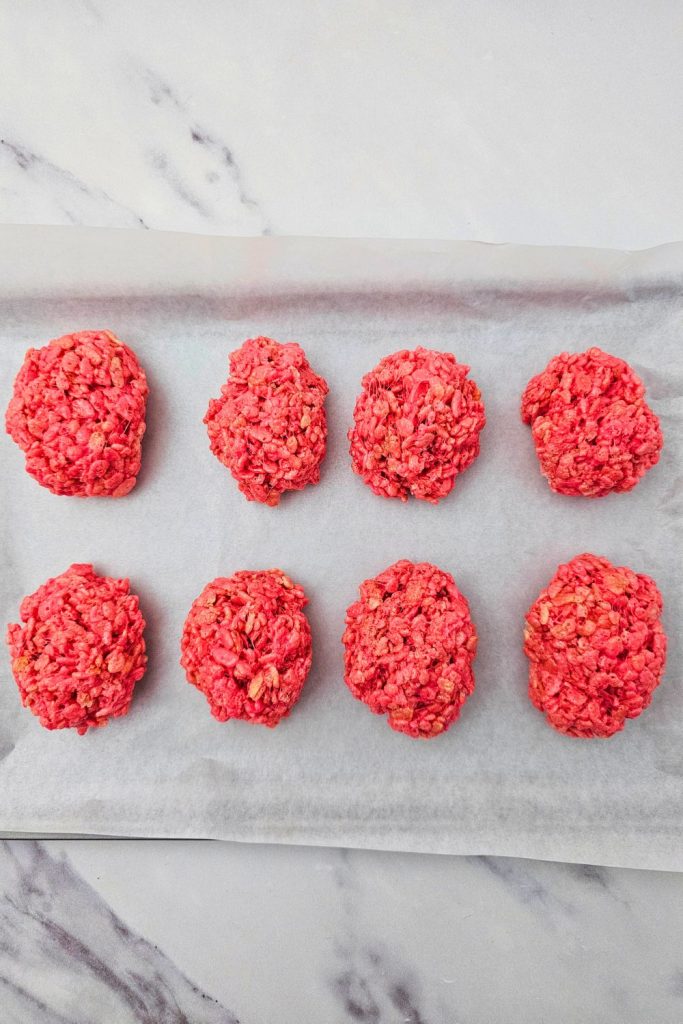
Use the ice cream scoop to portion out the mixture onto the prepared tray. With your hands, form each scoop into an oval shape.
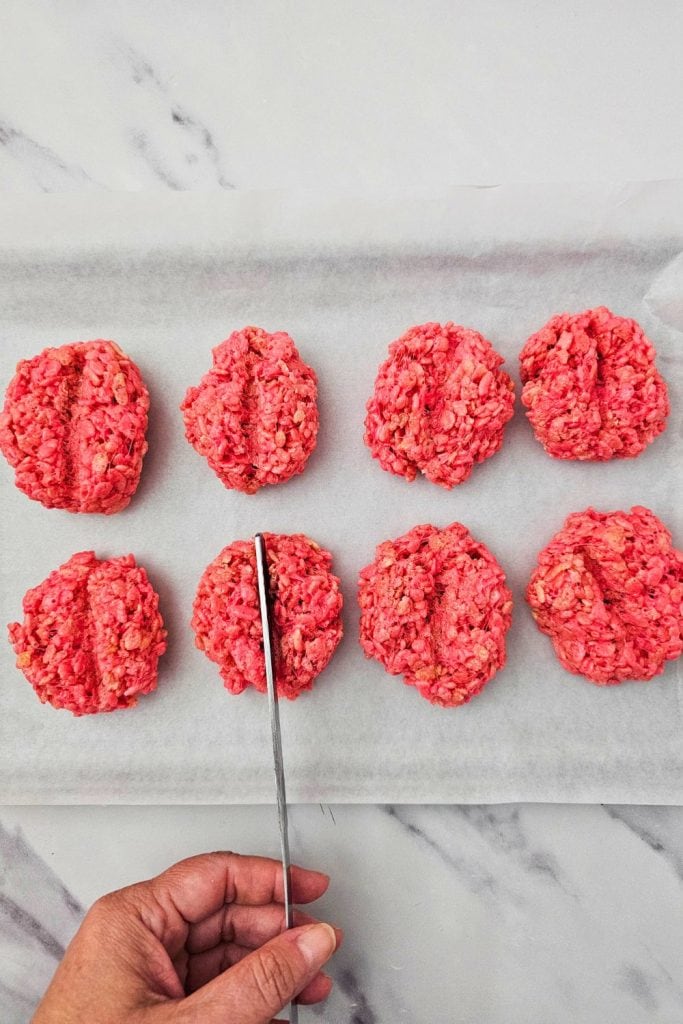
Use the fat end of a butter knife to create an indent down the center, forming the two brain hemispheres.
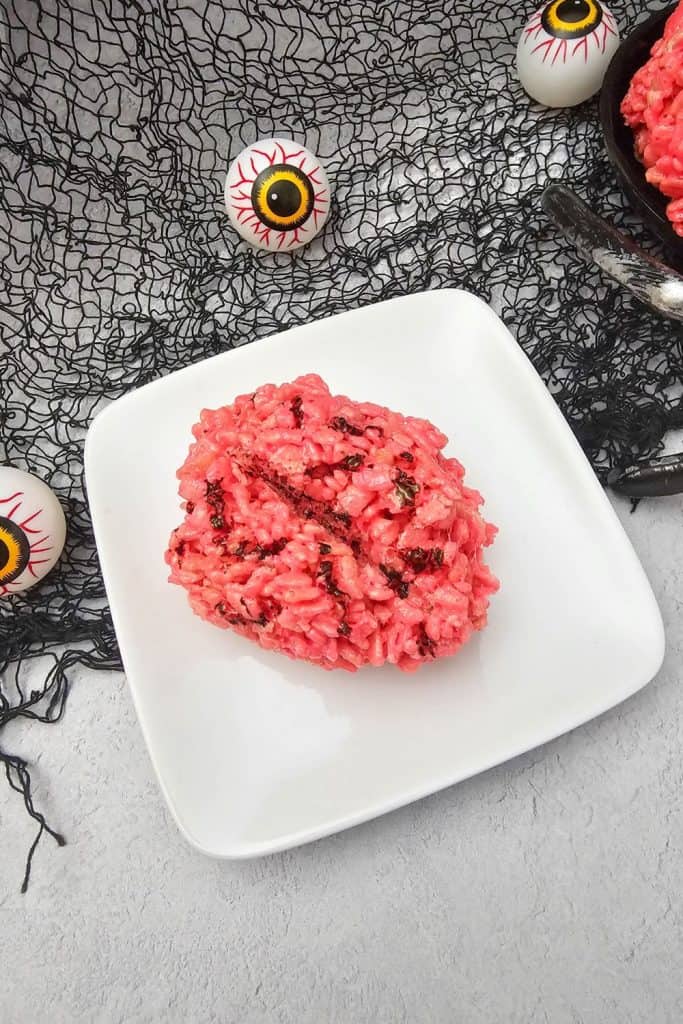
6. Add extra creep factor (optional)

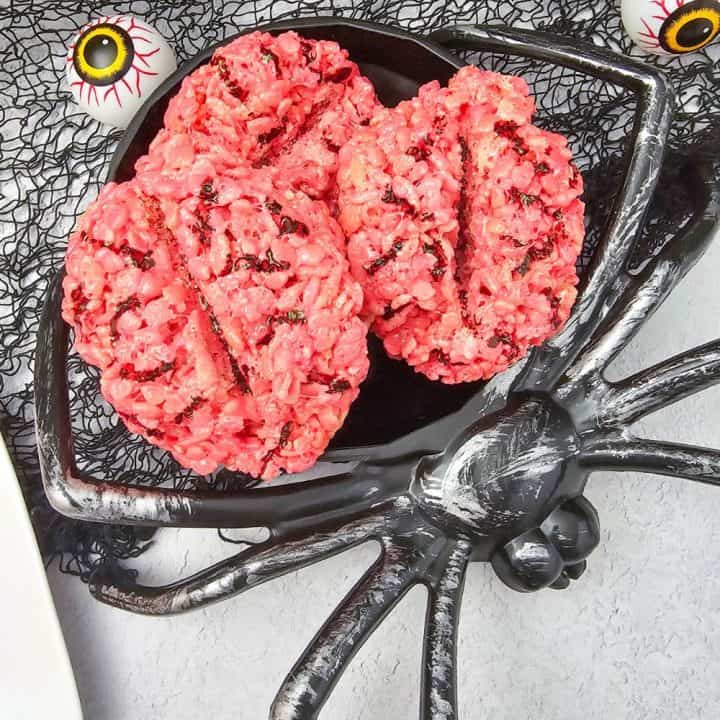
Mix a drop of red food coloring with a bit of water in a small bowl. Use a thin paintbrush to add “vein” details to the surface of each brain.
You can also use a toothpick or the end of a spoon to drizzle the “vein” details on.
7. Cool completely & store
Let set at room temperature for about 20 minutes before serving.
Storage Tips: Place the Krispie brains in an airtight container at room temperature for up to 3-4 days. If stacking, separate layers with parchment paper to prevent sticking.
Tips & Variations
- Marshmallow melt tip: Keep heat low to avoid hard treats. Slow and steady wins the brain game.
- Veiny details: Use a toothpick dipped in food coloring for even finer “vein” lines.
- Make them mini: Use a melon baller instead of an ice cream scoop for bite-sized brains.
- Flavor twist: Add a few drops of raspberry extract for a subtle “bloody” flavor.
- Party display: Arrange on a silver tray with fake spiders or Halloween props for extra drama.
Final Thoughts: Rice Krispie Treats Halloween Brains
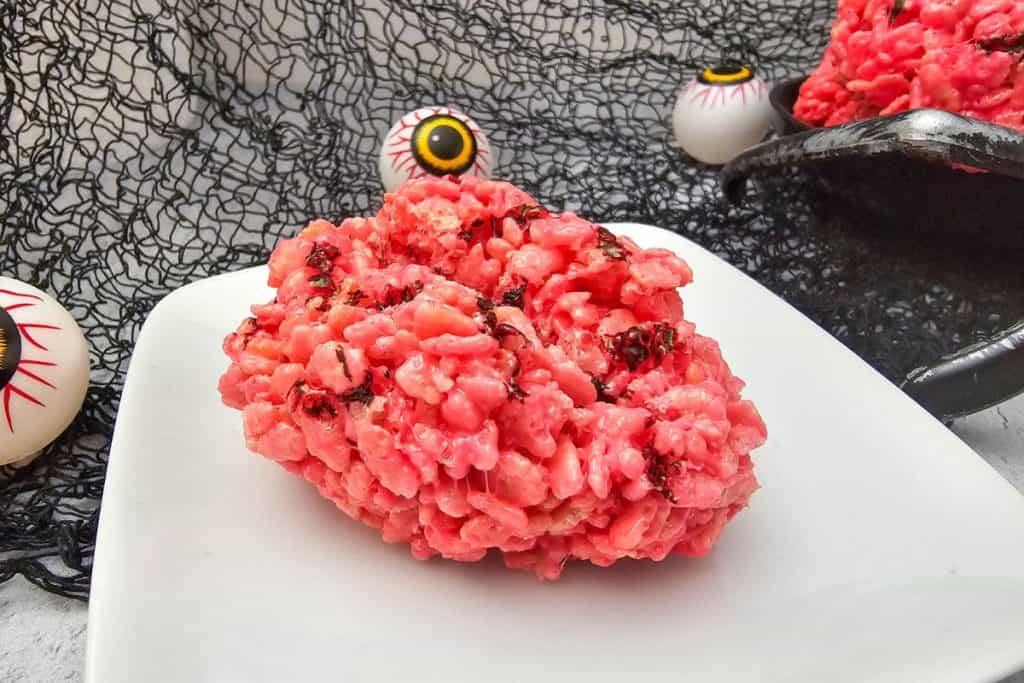
These rice krispie treats Halloween brains are equal parts spooky and sweet, making them the ultimate addition to any October bash or zombie movie night.
Whether you’re whipping up easy Halloween rice krispies treats for a school event, serving them as gory-good Halloween finger food desserts, or selling them at a community bake sale, they’re guaranteed to get laughs (and maybe a few fake screams).
I love that they’re quick to make, easy to customize, and always a crowd-pleaser. Plus, they store well, so you can prep ahead and focus on enjoying the party. Add them to your Halloween must-make list and you’ll be the mad scientist of the dessert table in no time.
Creepy Rice Krispie Brains
Creepy Halloween Rice Krispie Brains are a spooky twist on classic rice krispie treats, only this time, they look like little brains fresh from the mad scientist’s lab. Soft, chewy, and just the right amount of creepy, these make a eerily fun addition to your Halloween spread. They’re no-bake, kid-approved, and perfect for parties, bake sales, kids lunch box treats or a quick after-school scare.
Ingredients
- 6 cups Rice Krispies cereal
- 3 tbsp butter
- 1 (10 oz) bag miniature marshmallows
- Red food coloring (about 5 drops for vibrant pink)
Instructions
1. Prepare your tray
Line a baking sheet with parchment paper.
2. Melt the base
In a large pot over low heat, melt the butter. Add the marshmallows and stir until fully melted and smooth.
3. Color your brain goo
Stir in 4–5 drops of red food coloring until you reach your desired creepy pink shade. Use fewer drops for a lighter shade of pink.
4. Mix in cereal
Add the Rice Krispies cereal and stir gently until evenly coated.
5. Shape the brains
Use the ice cream scoop to portion out the mixture onto the prepared tray. With your hands, form each scoop into an oval shape.
Use the fat end of a butter knife to create an indent down the center, forming the two brain hemispheres.
6. Add extra creep factor (optional)
Mix a drop of red food coloring with a bit of water in a small bowl. Use a thin paintbrush to add “vein” details to the surface of each brain.
You can also use a toothpick or the end of a spoon to drizzle the "vein" details on.
7. Cool completely & store
Let set at room temperature for about 20 minutes before serving.
Storage Tips: Place the Krispie brains in an airtight container at room temperature for up to 3-4 days. If stacking, separate layers with parchment paper to prevent sticking.
Notes
TIPS & VARIATIONS
- Marshmallow melt tip: Keep heat low to avoid hard treats. Slow and steady wins the brain game.
- Veiny details: Use a toothpick dipped in food coloring for even finer “vein” lines.
- Make them mini: Use a melon baller instead of an ice cream scoop for bite-sized brains.
- Flavor twist: Add a few drops of raspberry extract for a subtle “bloody” flavor.
- Party display: Arrange on a silver tray with fake spiders or Halloween props for extra drama
Nutrition Information:
Yield: 16 Serving Size: 1Amount Per Serving: Calories: 42Total Fat: 2gSaturated Fat: 1gTrans Fat: 0gUnsaturated Fat: 1gCholesterol: 6mgSodium: 18mgCarbohydrates: 5gFiber: 0gSugar: 0gProtein: 0g
This website provides approximate nutrition information for convenience and as a courtesy only. Nutrition data is gathered from online calculators.