Graveyard Dirt Cups Are The Ultimate Creepy Halloween Treat
Packed for Life contains affiliate links. If you make a purchase using one of these links, we may receive compensation at no extra cost to you. As an Amazon Associate, I earn from qualifying purchases. See my Disclosure policy for more info.
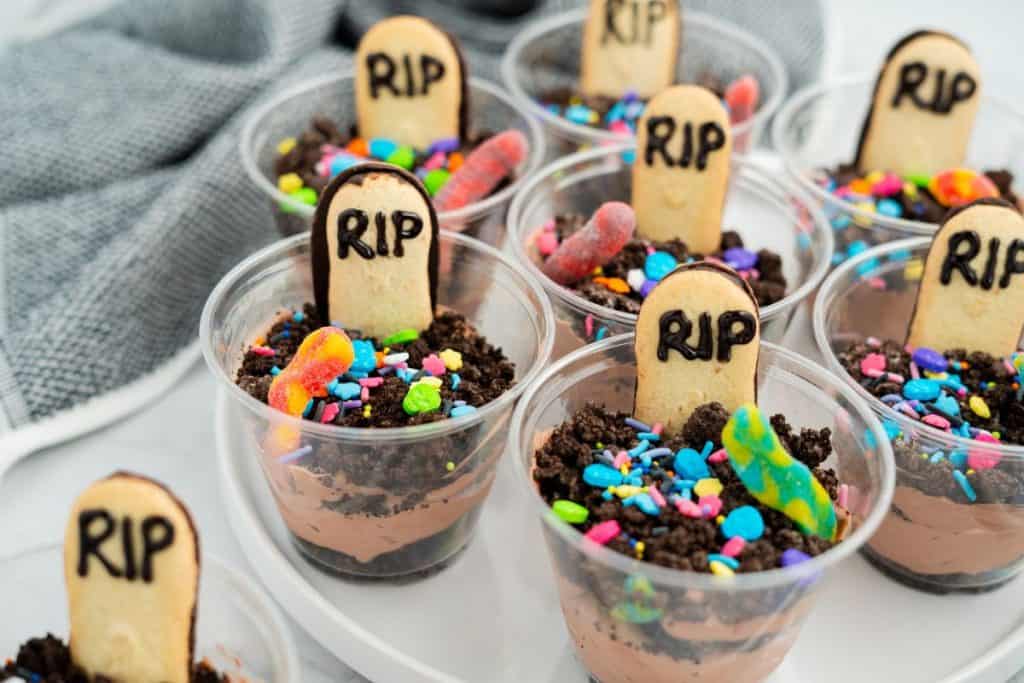
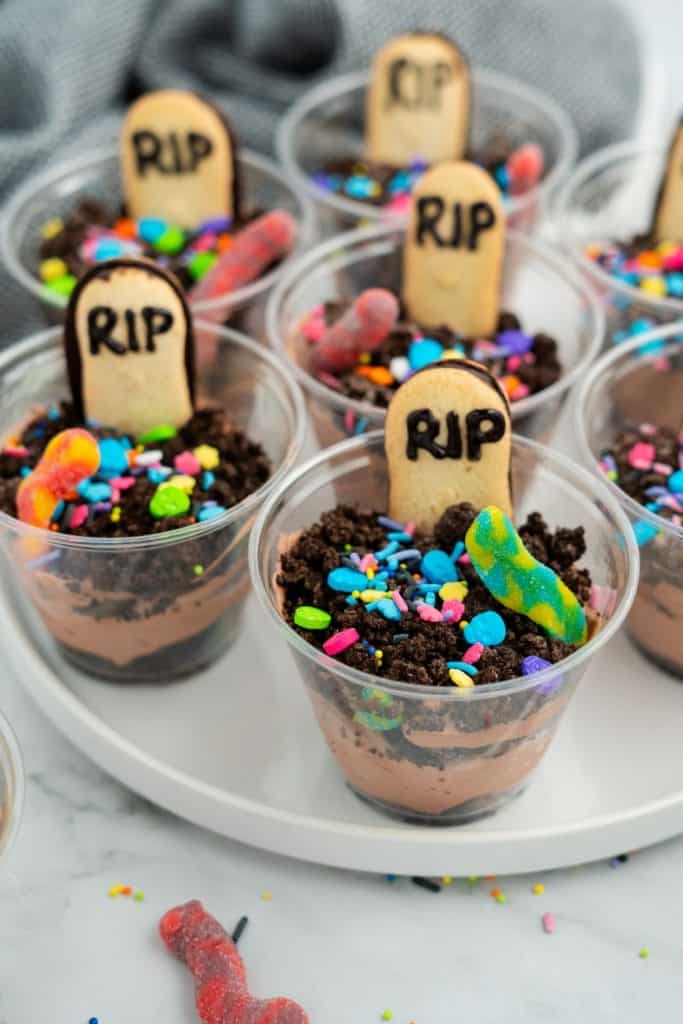
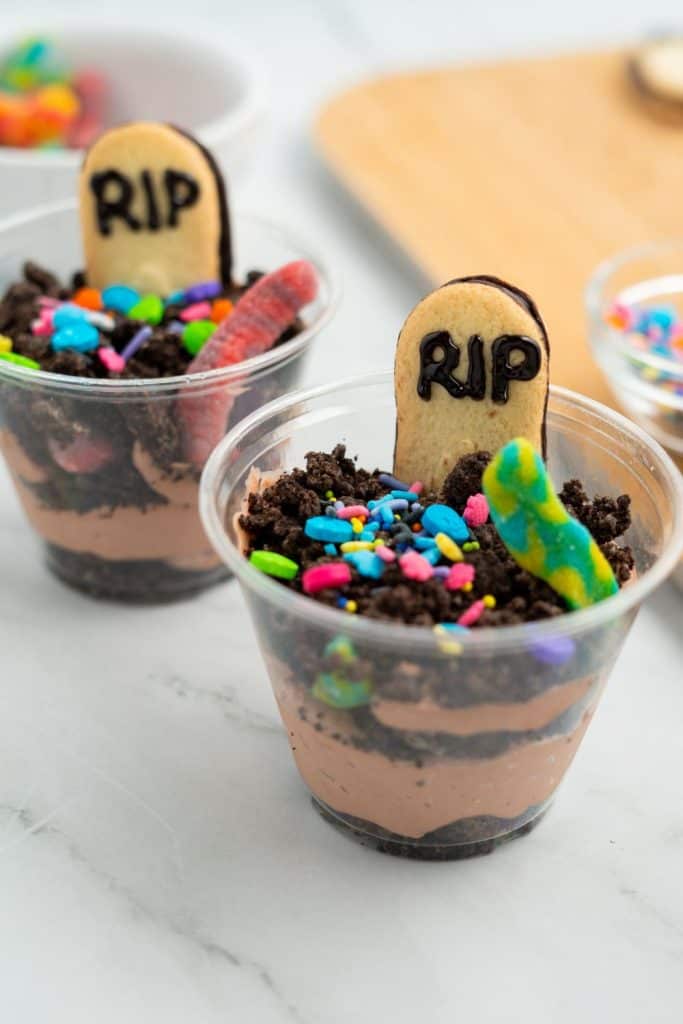
Graveyard Dirt Cups are spooky, creamy, and just the right mix of creepy fun for Halloween. Each bite combines layers of crushed Oreos, a fluffy pudding-cream cheese filling, and creepy gummy worm candy toppings. Serve them at Halloween parties, class events, or as an after-school surprise treat that’ll get the kids howling.
Halloween Dirt Cups
Boo! This fun and easy Halloween dessert has risen from the grave and into our hearts (and bellies).
As a mom of three and the unofficial “Halloween treat maker” for our block, I’ve tested my share of creepy-cute desserts.
These Graveyard Dirt Cups are our go-to every October. Using store bought pudding mix and a few fun add-ins, you’ll whip up a hauntingly delicious treat that even busy families can pull off.
I love that I can prep these in under 30 minutes, and they still look so cool! My kids like to call them ZOMBIE DIRT pudding cups, but I’ve also heard them called spooky dirt cups, and dirt pudding cups too.
Whether you’re planning a spooky bash, looking for Easy Halloween treats, a creepy movie night snack, or want a twist on the classic dirt cup, these Halloween Dirt Cups will likely be your new go-to for kid friendly desserts.

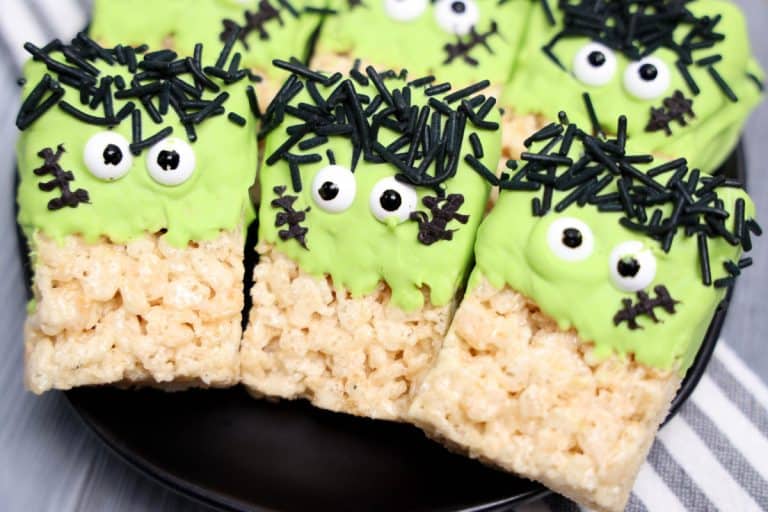
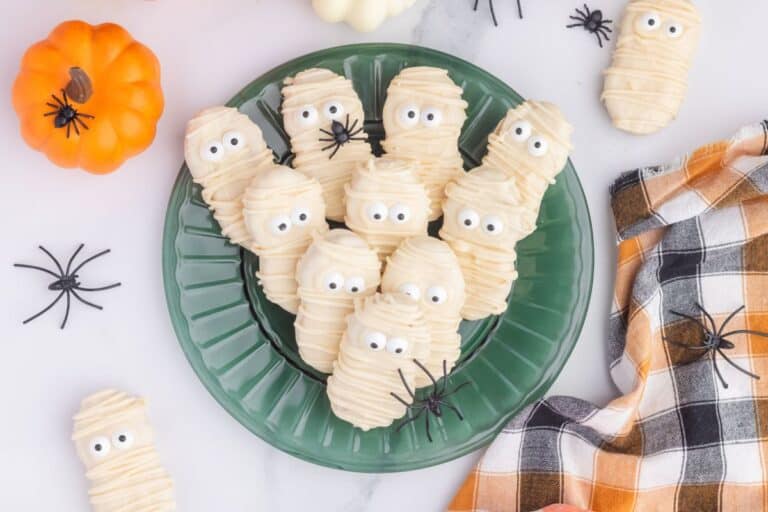
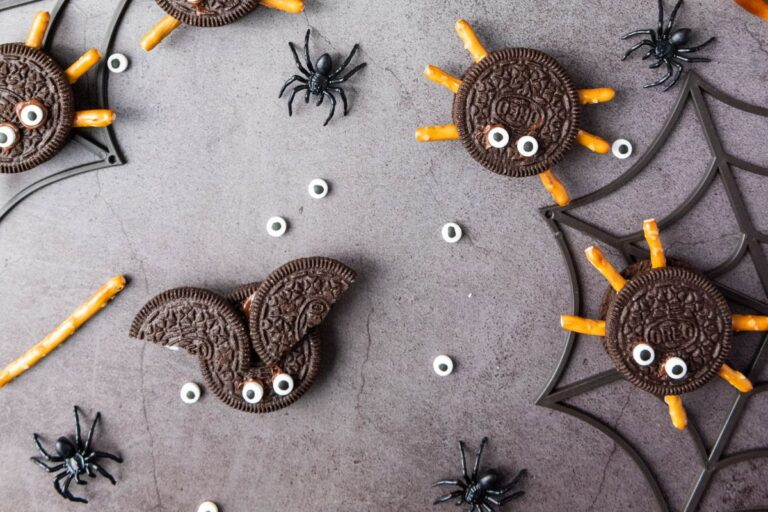
⭐️ Also check out our other favorite Halloween kids party treats, like our easy oreo bats and spiders and cute pumpkin oreos, not so scary mummy cookies and our creepy but cute Frankenstein krispie treats.
Why You’ll Love These Pudding Dirt Cups
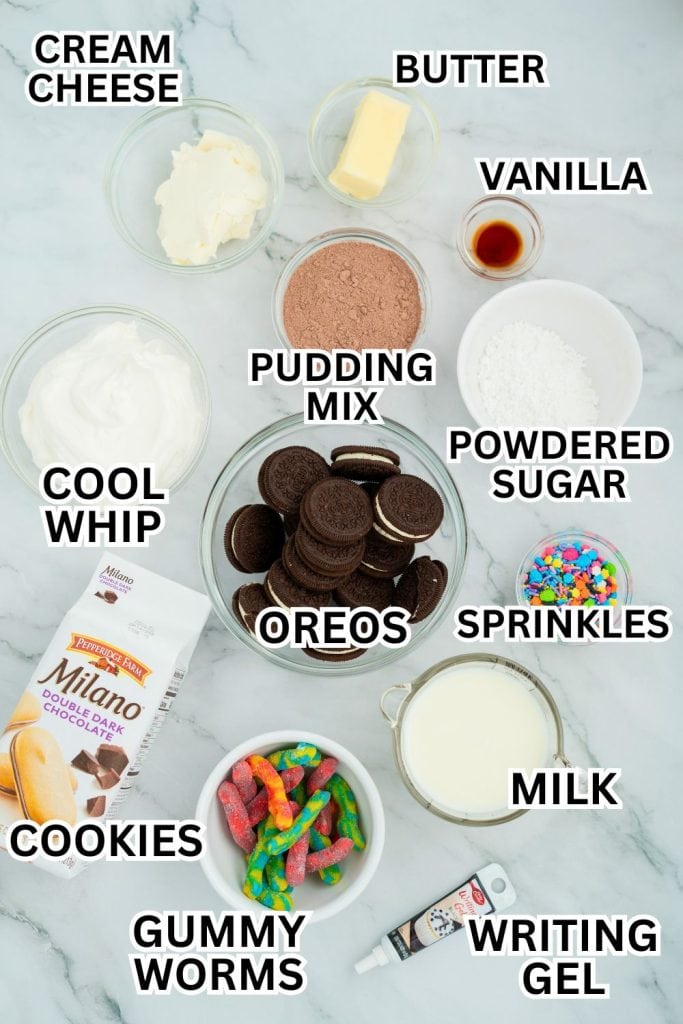
Graveyard Dirt Cup Ingredients
Dirt Cups
- 3.9 oz chocolate pudding mix
- 2 cups cold milk (or as directed)
- 4 oz cream cheese, softened
- 4 oz Cool Whip
- ⅓ cup powdered sugar
- 1 tsp vanilla extract
- 4 tbsp unsalted butter, softened
- 29 Oreo cookies
Toppings
- Gummy worms (or other Halloween candy) – I used Trolli sour electric crawlers
- Halloween sprinkles – I used Great Value Day of the dead sprinkle mix
- Black writing gel
- Milano cookies (for tombstones)
Equipment You’ll Need
- Mixing bowls
- Electric mixer
- Measuring cups & spoons
- Ziplock bag + rolling pin (for crushing cookies)
- Clear plastic or glass cups (about 10)
- Spoon or ice cream scoop
- Spatula
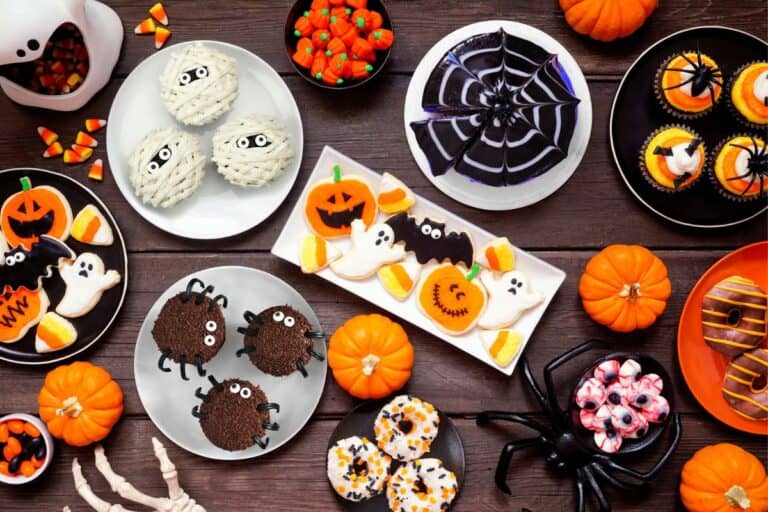
⭐️ Also try these Spooky Halloween party desserts and easy Halloween finger foods.
How to Make Halloween Graveyard Dirt Cups
1. Make the pudding
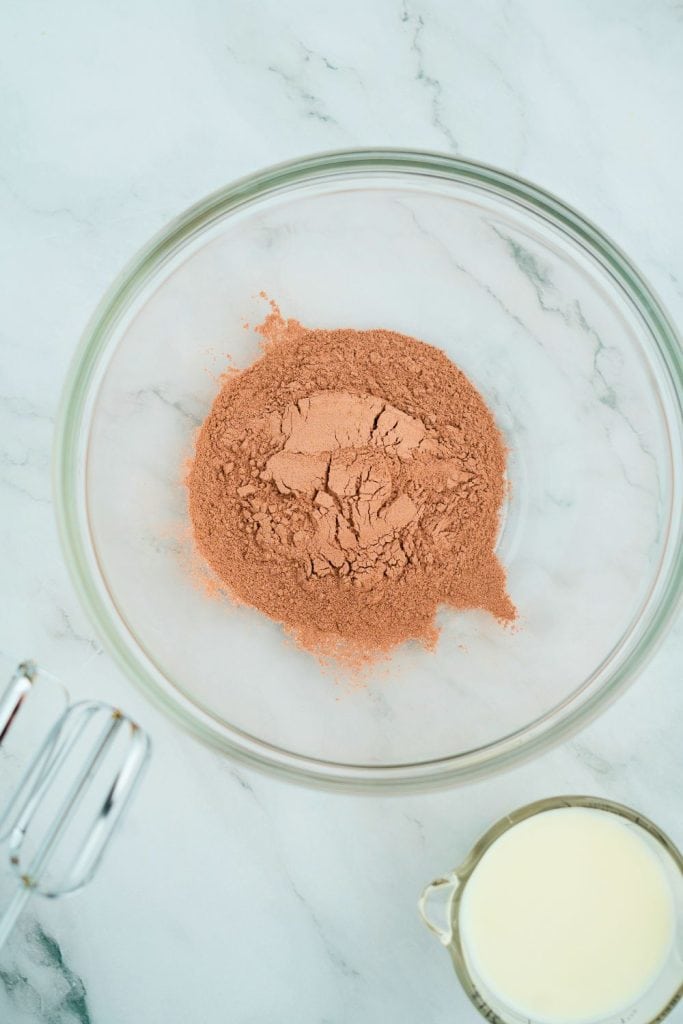
Mix pudding and cold milk according to the package and set aside while you make the cream cheese mix.
For the package I used, I needed 2 cups of milk.
2. Mix the creamy filling
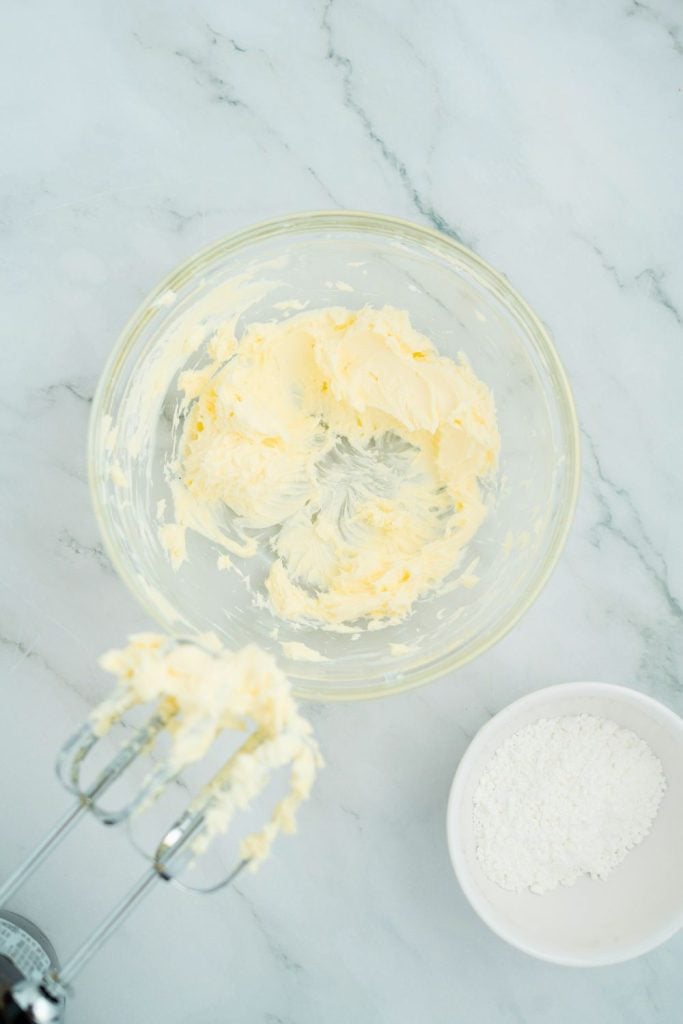
In another bowl, beat the softened cream cheese and butter with an electric mixer until smooth.
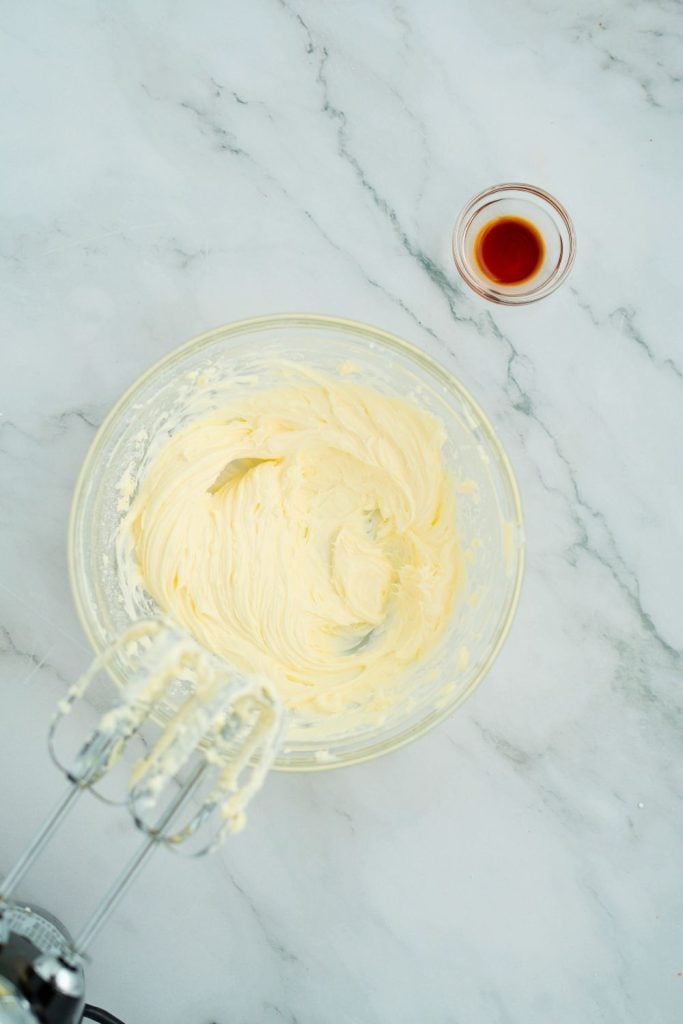
Add the powdered sugar and mix again, then stir in the vanilla until everything is well mixed.
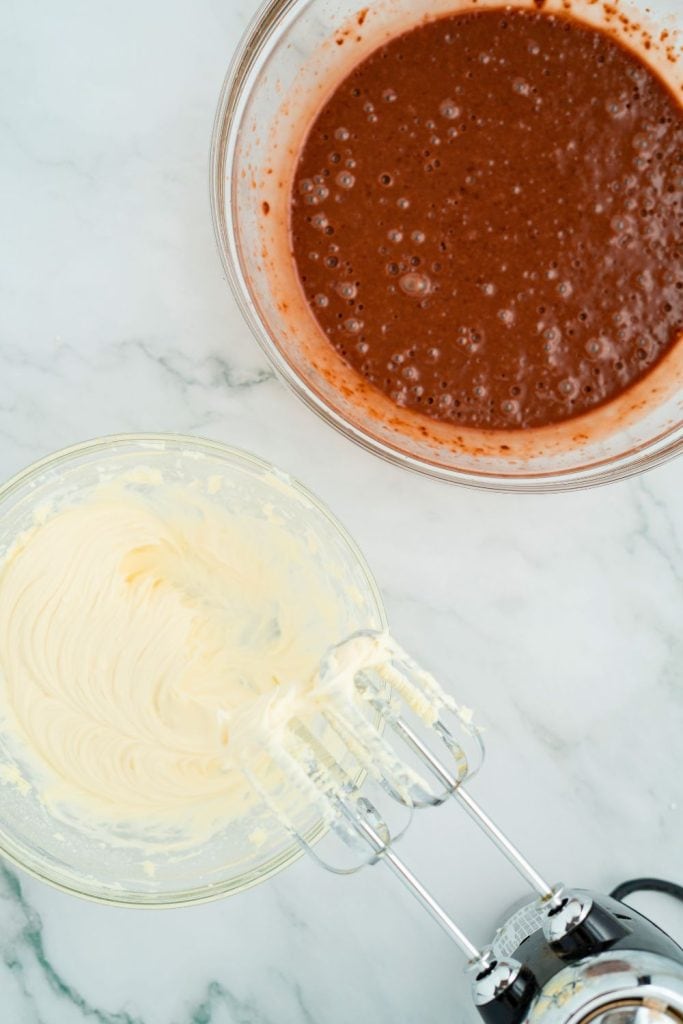
3. Combine and chill
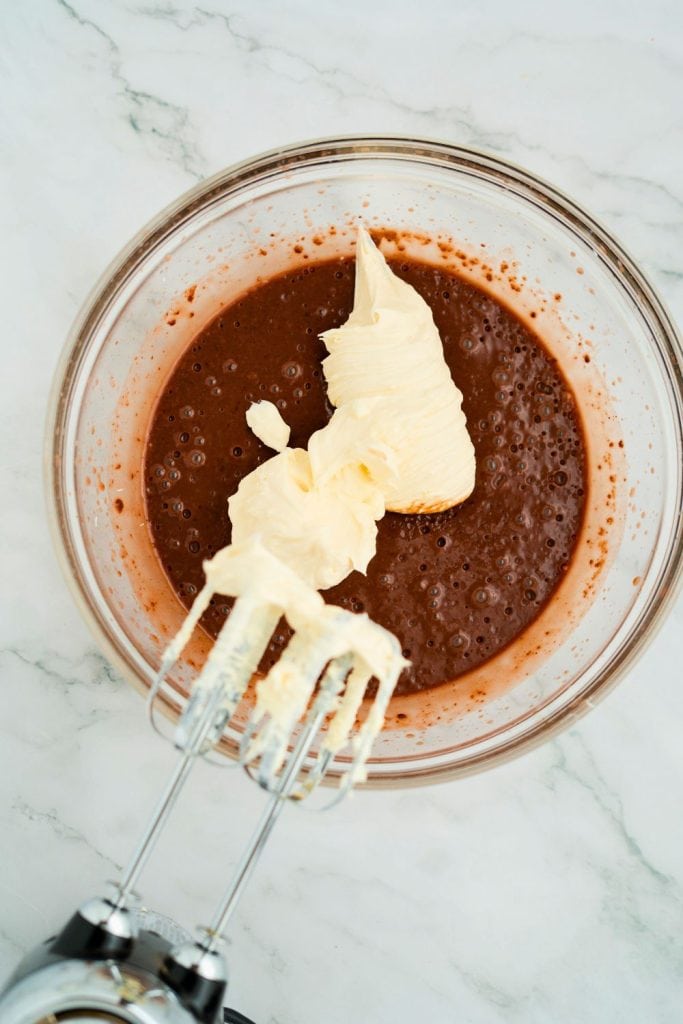
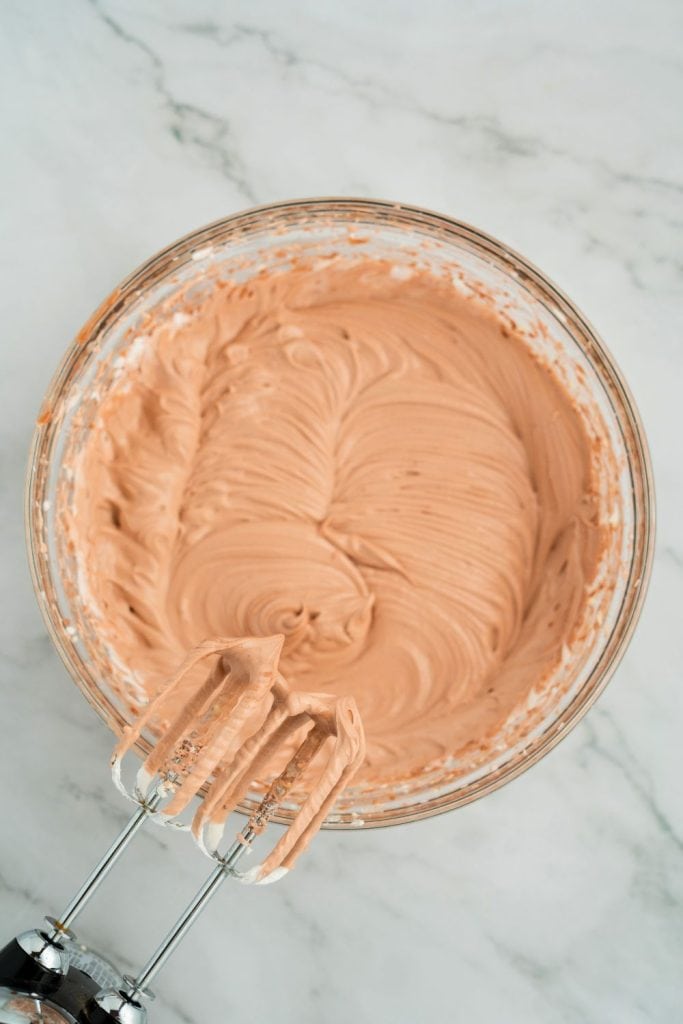
Mix the cream cheese mixture into the pudding. Fold in Cool Whip until just combined.
Cover and refrigerate.
4. Crush the cookies

Place Oreos in a ziplock bag and crush with a rolling pin, or the bottom of a heavy glass cup or mug.
5. Make your tombstones
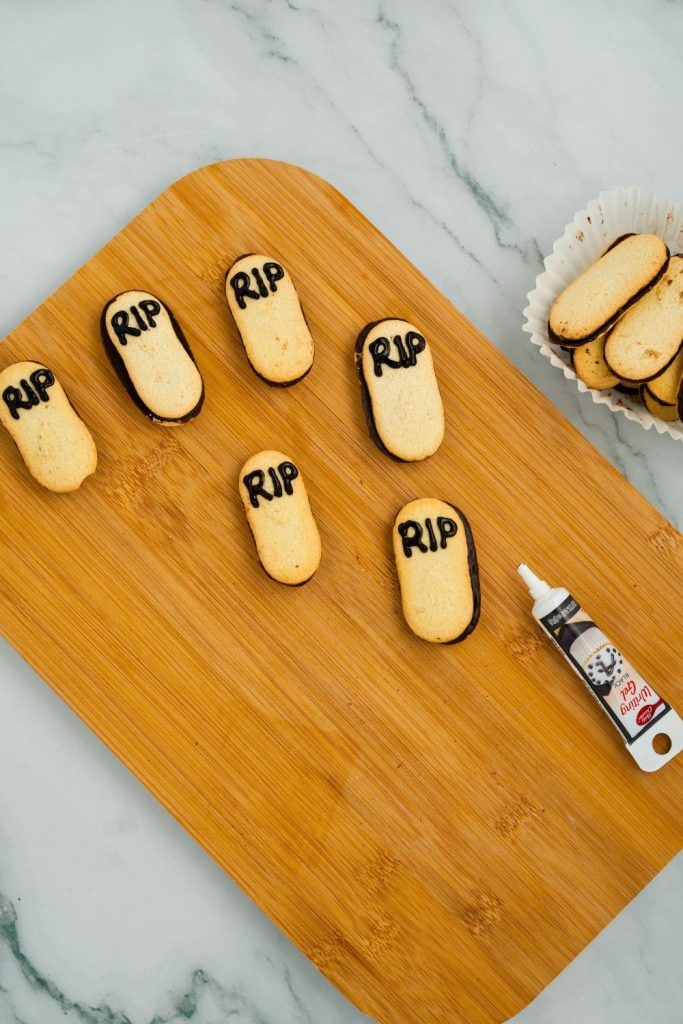
Use black gel to write “RIP” on Milano cookies. Let them dry while you assemble the pudding dirt cups.
6. Layer the dirt cups
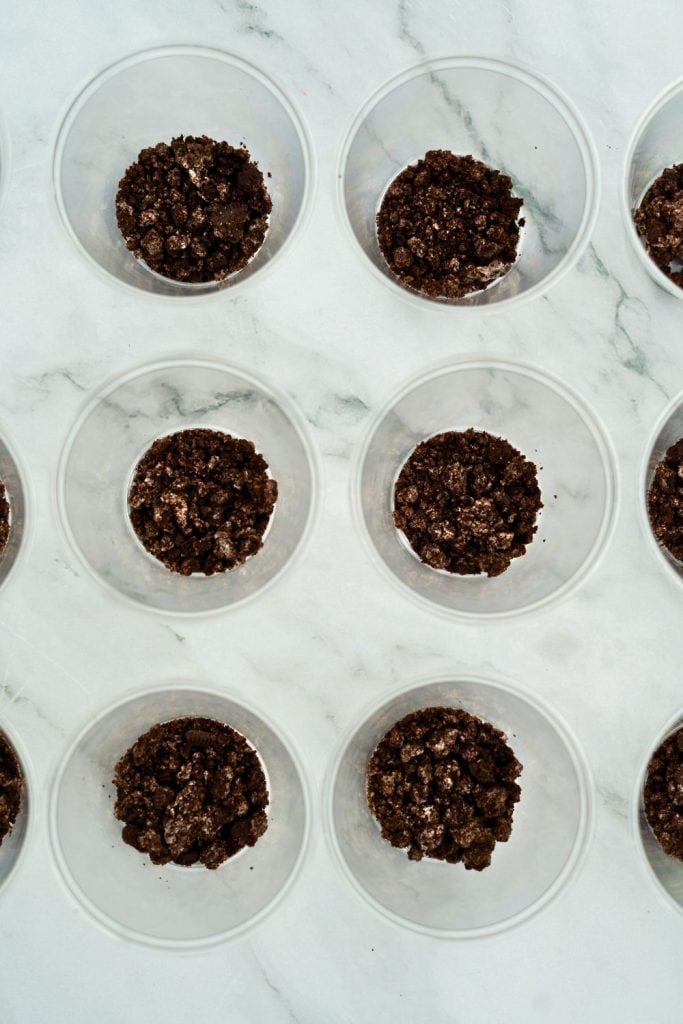
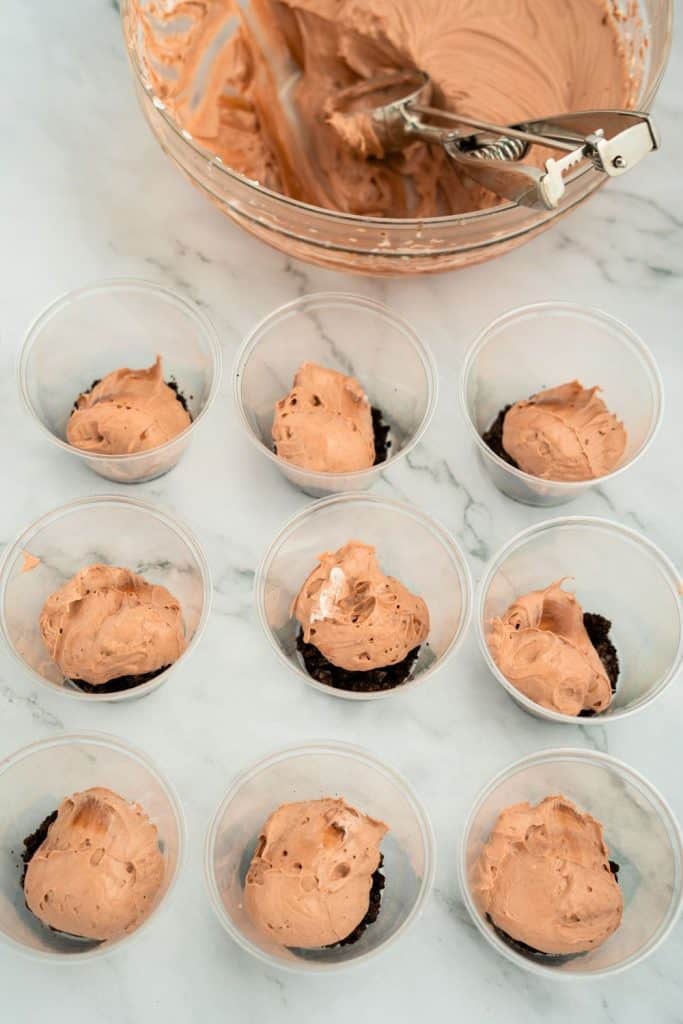
Add about 1 tbsp crushed cookies to the bottom of each cup. Then add in a scoop of pudding mix. Smooth it out. I used an ice cream scoop filled about half way for each layer.
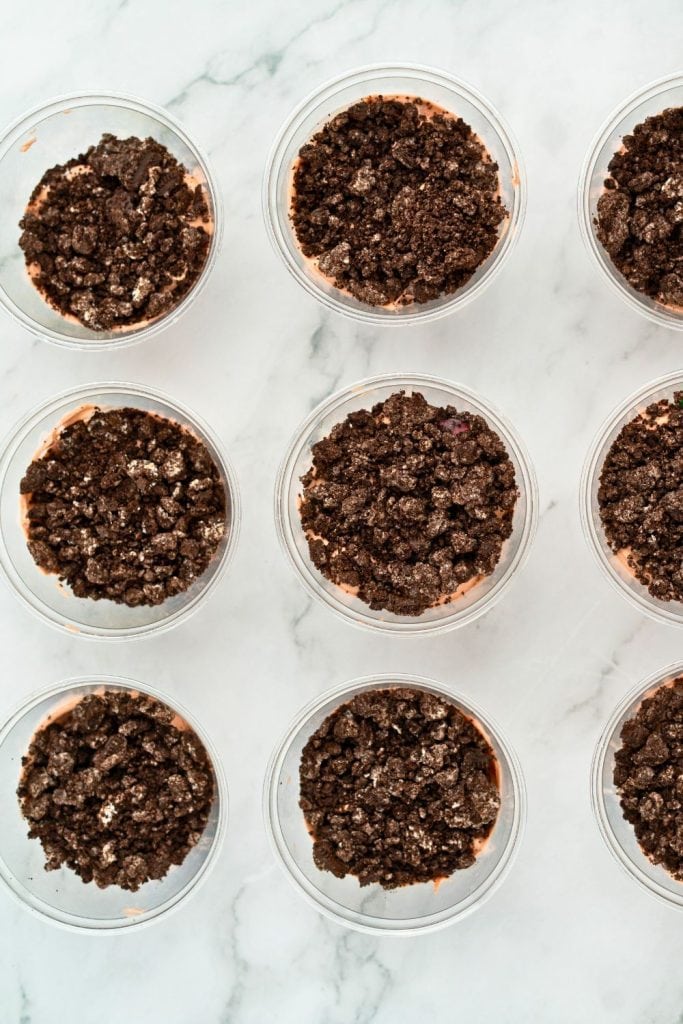
Repeat with more crushed cookies and another pudding layer. Top with 2 tablespoons of crushed cookies.
7. Chill and decorate
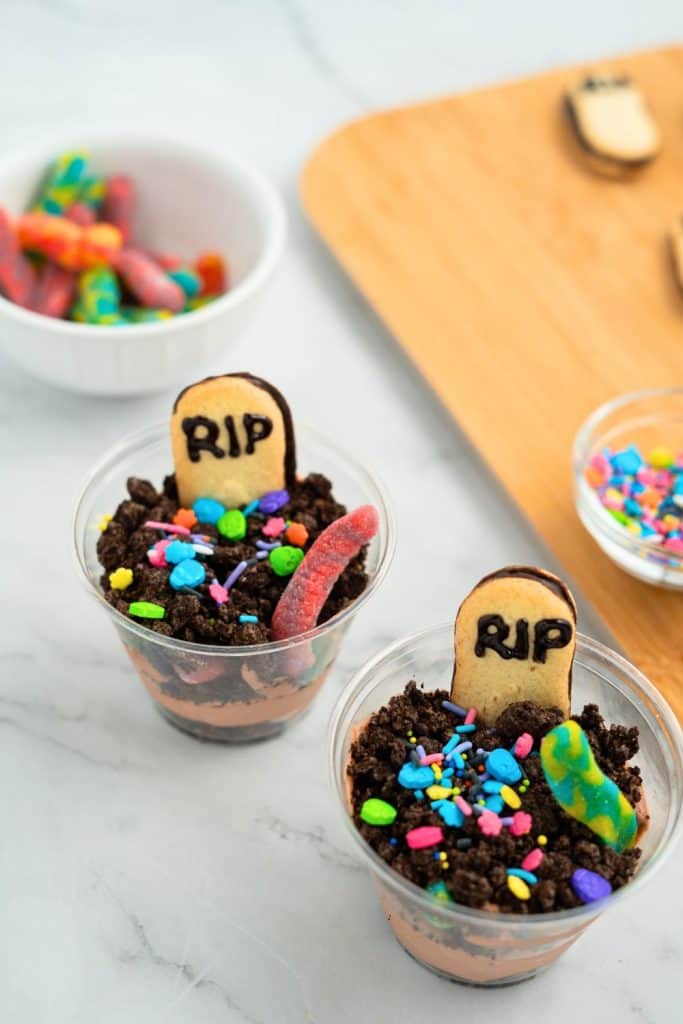
Refrigerate the layered cups for 30 minutes.
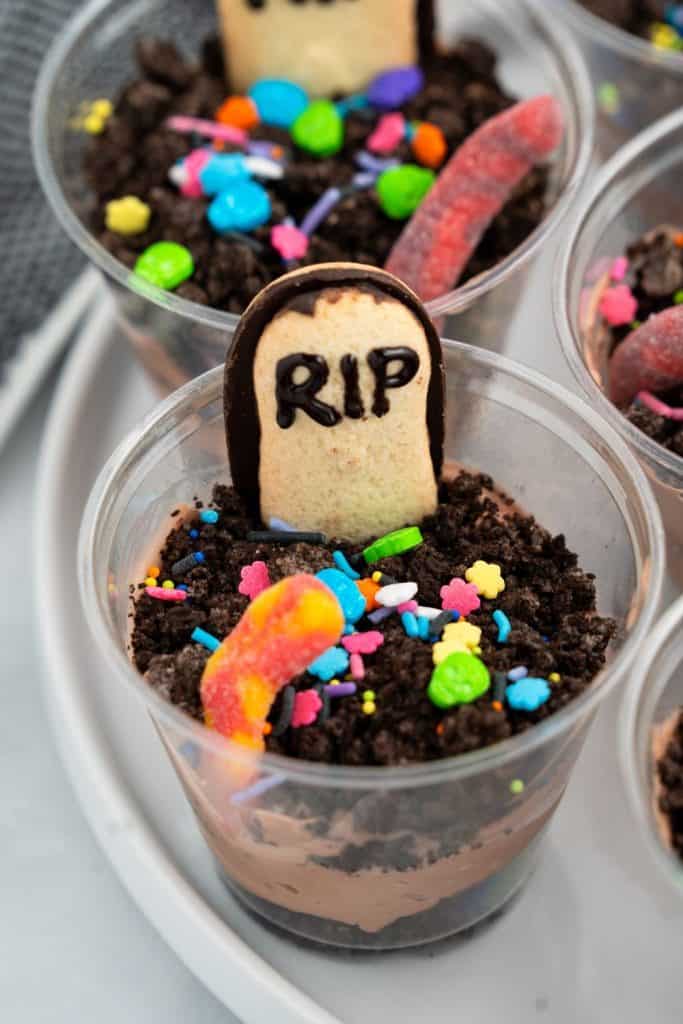
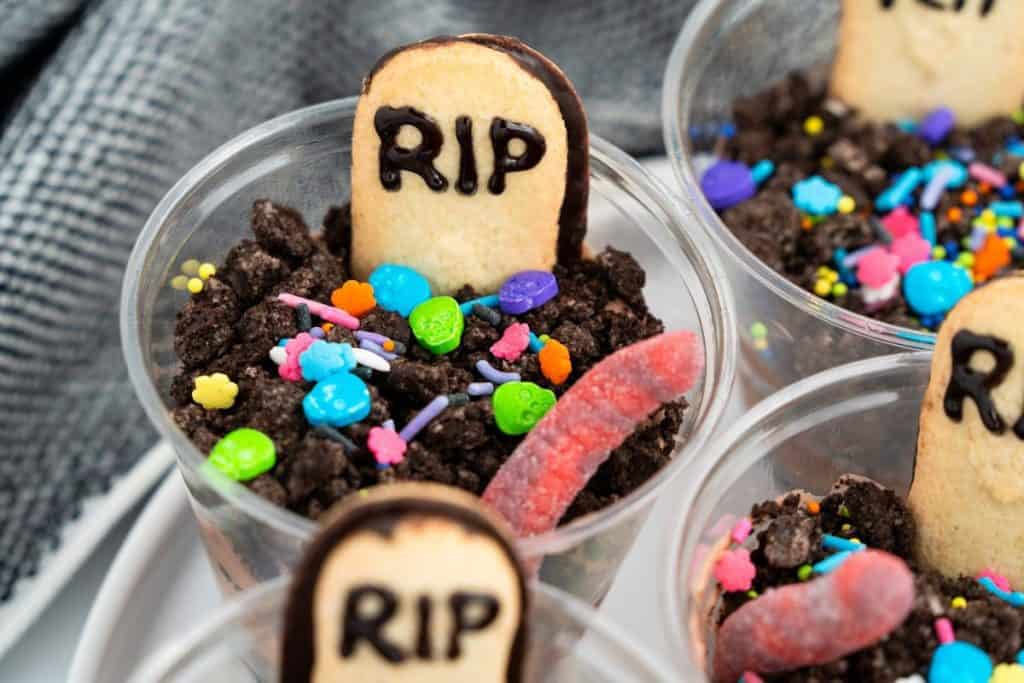
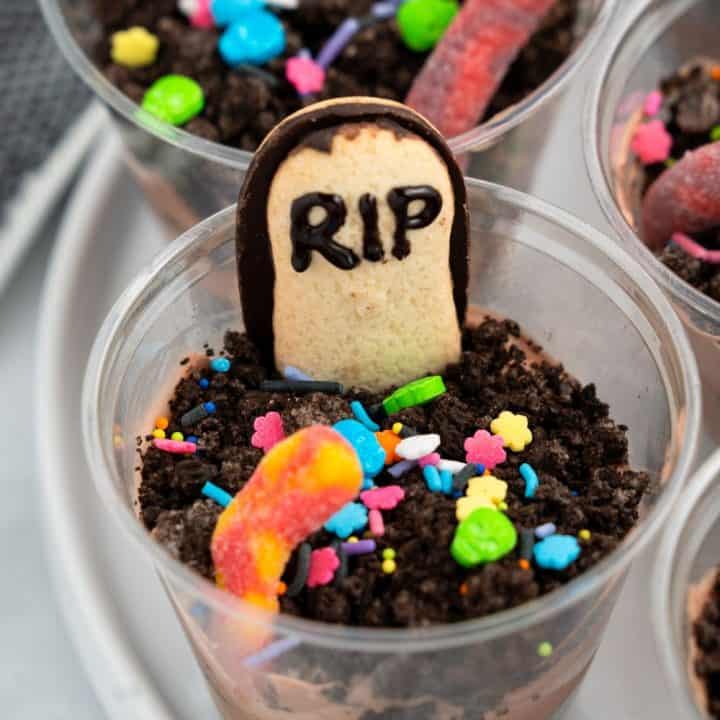
Before serving, decorate the dirt cake cups with tombstone cookies, gummy worms, and Halloween sprinkles.
Storage Tips: Store the pudding mixture in the refrigerator in an airtight container for up to 3 or 4 days.
Note: Add tombstone cookies and gummies right before serving so they don’t get soggy.
Tips & Variations
- Mini dessert cups for parties: Use 3 oz clear cups for kid-size, or smaller portions.
- Switch it up: Use vanilla or butterscotch pudding and golden Oreos for a “ghostly graveyard” twist.
- Add extra creep: Stick in candy bones or eyeballs for haunted flair.
- Tombstone cookie swap: Graham crackers, lady fingers (cut in half) or small sugar cookies work too in a pinch.
Final Thoughts: Dirt Pudding Graveyard Cups
These Graveyard Dirt Cups are one of those Halloween recipes we look forward to every single year.
Sweet, silly, and just scary enough to get the kids giggling, they’re the kind of Easy Halloween treats that take minimal effort but bring max fun.
With their creamy filling, Oreo “dirt,” and candy decorations, they’re the kind of Halloween Dirt Cups that WOW both kids and adults at parties, potlucks, or after dinner dessert time.
If you’re looking for Graveyard Dirt Cups that win the best of desserts, this is it.
Graveyard Dirt Cups
Graveyard Dirt Cups are spooky, creamy, and just the right mix of creepy fun for Halloween. Each bite combines layers of crushed Oreos, a fluffy pudding-cream cheese filling, and creepy candy toppings. Serve them at Halloween parties, class events, or as an after-school surprise treat that’ll get the kids howling.
Ingredients
Dirt Cup Ingredients
- 3.9 oz chocolate pudding mix
- 2 cups cold milk (or as directed)
- 4 oz cream cheese, softened (about ½ cup)
- 4 oz Cool Whip (about 1½ cups)
- ⅓ cup powdered sugar
- 1 teaspoon vanilla extract
- 4 tablespoons unsalted butter
- 29 Oreos - double stuffed or regular (about 2½ cups crushed)
- Gummy worms (10 to 20), or other Halloween candy
- Halloween sprinkles
- Black edible writing gel
- Milano cookies (about 10, for tombstones)
Instructions
1. Make the pudding
Mix pudding and cold milk according to the package and set aside while you make the cream cheese mix. For the package I used, I needed 2 cups of milk.
2. Mix the creamy filling
In another bowl, beat the softened cream cheese and butter with an electric mixer until smooth.
Add the powdered sugar and mix again, then stir in the vanilla until everything is well mixed.
3. Combine and chill
Mix the cream cheese mixture into the pudding. Fold in Cool Whip until just combined. Cover and refrigerate.
4. Crush the cookies
Place Oreos in a ziplock bag and crush with a rolling pin, or the bottom of a heavy glass cup or mug.
5. Make your tombstones
Use black gel to write “RIP” on Milano cookies. Let them dry while you assemble the pudding dirt cups.
6. Layer the dirt cups
Add about 1 tbsp crushed cookies to the bottom of each cup. Then add in a scoop of pudding mix. Smooth it out. I used an ice cream scoop filled about half way for each layer.
Repeat with more crushed cookies and another pudding layer. Top with 2 tablespoons of crushed cookies.
7. Chill and decorate
Refrigerate the layered cups for 30 minutes. Before serving, decorate with tombstone cookies, gummy worms, and Halloween sprinkles.
Storage Tips: Store the pudding in the refrigerator in an airtight container for up to 3 or 4 days.
Note: Add tombstone cookies and gummies right before serving so they don’t get soggy.
Notes
Tips & Variations
- Mini dessert cups for parties: Use 3 oz clear cups for kid-size, or smaller portions.
- Switch it up: Use vanilla or butterscotch pudding and golden Oreos for a “ghostly graveyard” twist.
- Add extra creep: Stick in candy bones or eyeballs for haunted flair.
- Tombstone cookie swap: Graham crackers, lady fingers (cut in half) or small sugar cookies work too in a pinch.
Nutrition Information:
Yield: 10 Serving Size: 1Amount Per Serving: Calories: 393Total Fat: 19gSaturated Fat: 10gTrans Fat: 0gUnsaturated Fat: 8gCholesterol: 28mgSodium: 396mgCarbohydrates: 52gFiber: 1gSugar: 36gProtein: 5g
This website provides approximate nutrition information for convenience and as a courtesy only. Nutrition data is gathered from online calculators.