Fun Valentine’s Day Pretzel Treats To Share
Packed for Life contains affiliate links. If you make a purchase using one of these links, we may receive compensation at no extra cost to you. As an Amazon Associate, I earn from qualifying purchases. See my Disclosure policy for more info.
Add a dash of sweetness and a sprinkle of love to your Valentine’s celebrations with these easy Valentine’s Day Pretzels. These crunchy, candy-coated treats are as fun to make as they are to eat. With vibrant pink, red, and white colors and a pop of festive sprinkles, they’re the perfect way to spread a little appreciation to your friends, family or work colleagues this month.
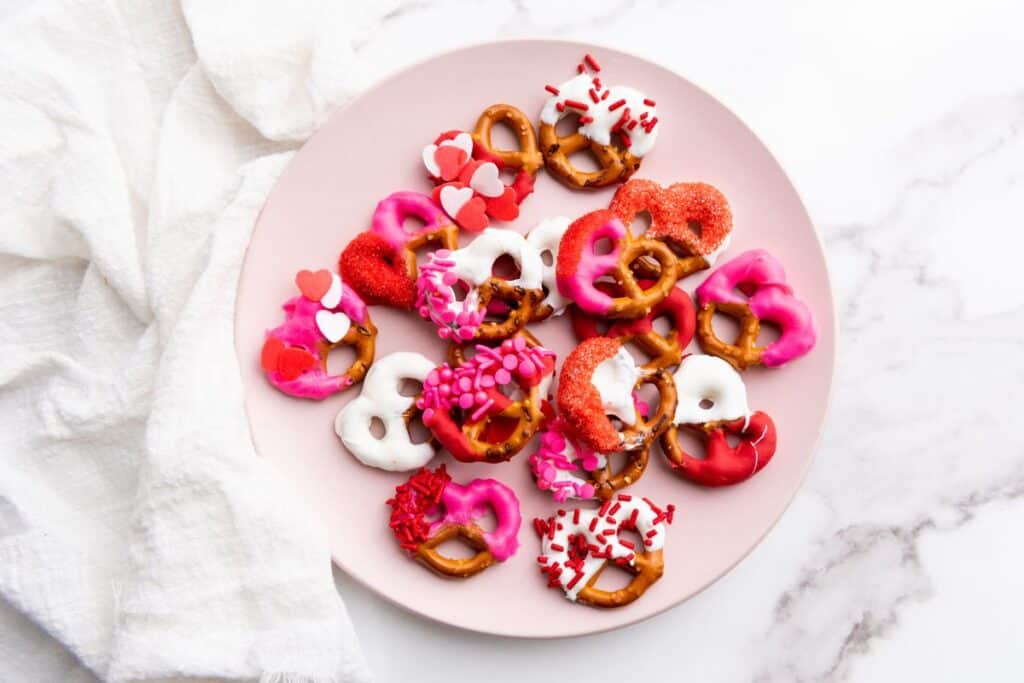
We love making these easy no bake Valentine’s treats, as the combination of salty and sweet makes them absolutely irresistible, and they’re ready to share in under an hour.
Most of this time is taken up with waiting impatiently for the candy to harden. Because we can’t resist tasting, for quality control purposes only of course.
They’re perfect for when you’re looking for a quick party snack, a thoughtful homemade gift, or just a fun kitchen project to enjoy with the kids.
Make sure to have extra Valentine’s sprinkles on hand if making them with kids. It’s surprising how quickly they disappear.
I’ve also bagged these up in cute Valentine’s theme treat bags for my kid’s classmates and contributed them as a fun kids Valentine Party treats, as well as taken them to work functions. Everyone usually gets a kick out of them.

Why You’ll Love This Valentine’s Pretzel Recipe
- Colorful & Fun: Bright pink, red, and white candy melts paired with sprinkles make these pretzels perfect for Valentine’s Day or anytime you need a red or pink treat.
- Quick & Easy: With just a few simple ingredients and steps, you can whip these up in no time.
- Great for Gifting: These pretzels are easy to package in treat bags for a thoughtful and tasty Valentine’s gift.
💖 Also try our quick Valentine’s Oreos recipe or Valentine’s M&M and peanut butter cookies
Ingredients for Valentine’s Pretzels
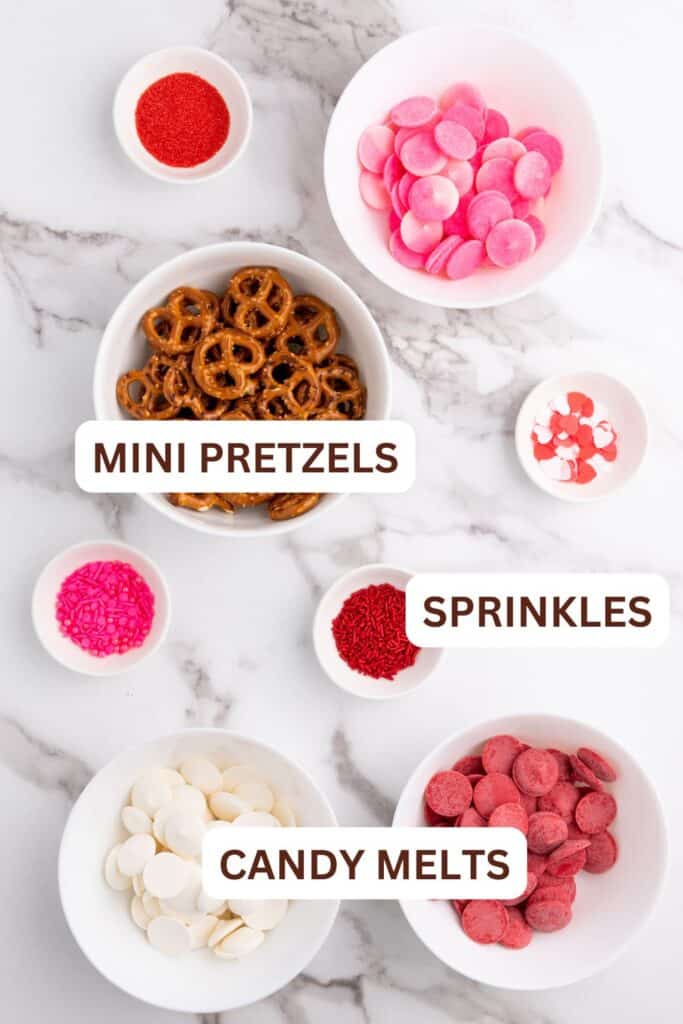
You will need:
- 12 oz (340 grams) of mini pretzels (or use any shaped pretzels you like)
- 3 oz (85 grams) pink candy melts
- 3 oz (85 grams) red candy melts
- 3 oz (85 grams) white candy melts
- Sprinkles (of your choice)
- Parchment paper or wax paper
You can double or triple the recipe as needed. Just know that in a one-ounce serving (28 grams) there are about 20 mini pretzels. Canadian here, so grams make more sense to me.
Which means there are about 240 pretzels in 12 ounces. That’s a lot of dipping already!
Instructions
1. Prepare Your Workspace
Line a baking sheet with parchment paper or wax paper. This will be where you place your dipped pretzels to cool and set. Set up your dipping station with small bowls of sprinkles.
2. Melt the Candy Melts
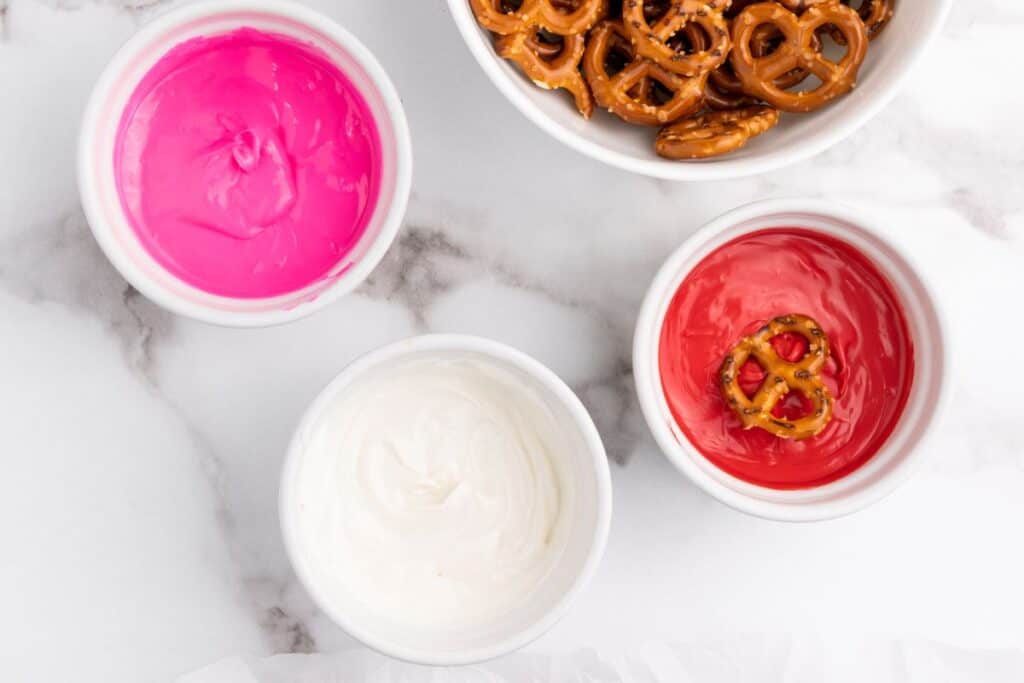
Divide the candy melts into three microwave-safe bowls: one for pink, one for red, and one for white. Then microwave each bowl of candy melts according to the instructions on the package.
Generally we like to do this in 30 second intervals on 50% power or the defrost setting, stirring between the intervals.
Continue microwaving and stirring until the candy melts are fully melted and smooth. Be careful not to overheat them, as this can cause the candy to seize and harden.
3. Dip the Pretzels
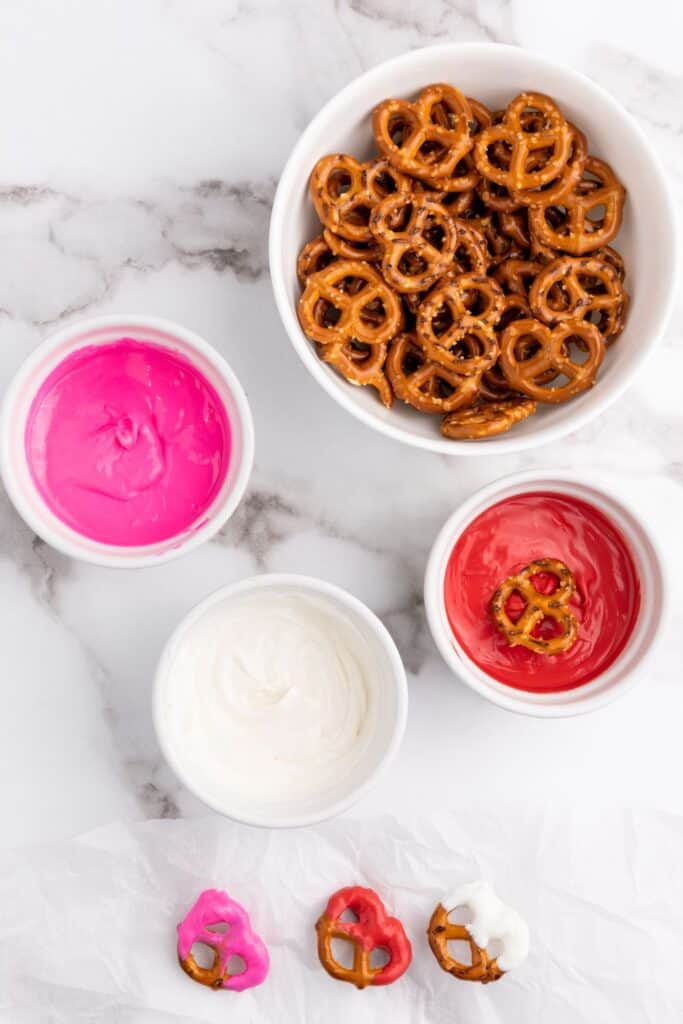
Using a fork or your fingers, dip each pretzel into one of the melted candy colors, ensuring it is fully coated. We’ve found it’s easier to use our fingers, especially if the kids are helping out.
Lift the pretzel out of the candy and gently tap it against the edge of the bowl to remove excess coating. Then place the dipped pretzel onto the prepared baking sheet.
💖 You may also like our Valentine’s Day Strawberry Muddy Buddy Snack Mix
4. Decorate with Sprinkles
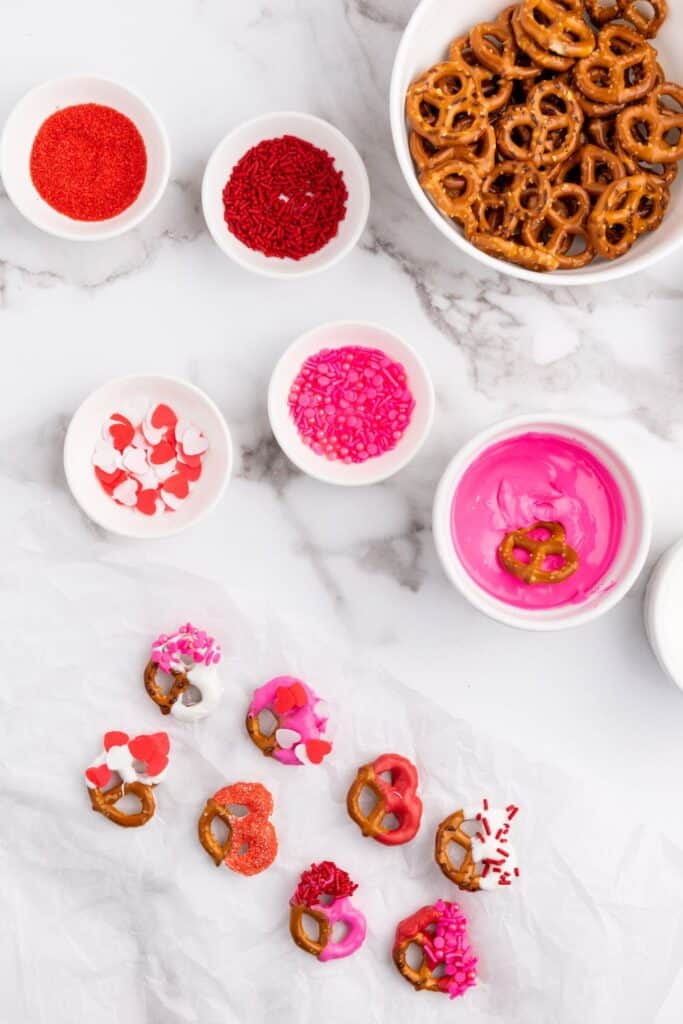
While the candy coating is still wet, sprinkle your chosen decorations over each pretzel.
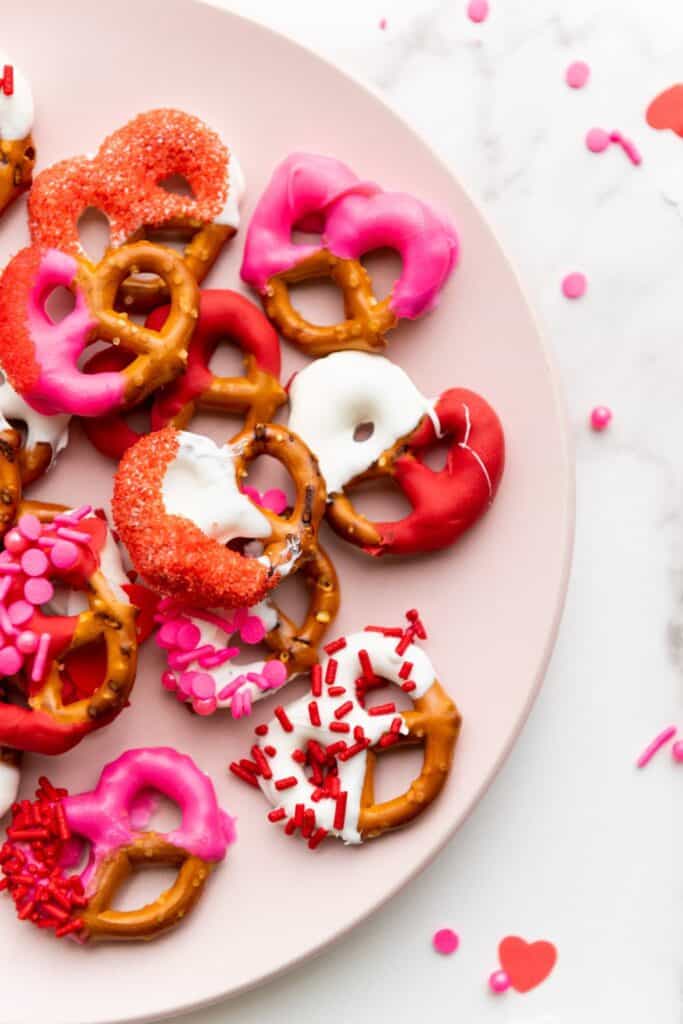
This is a great chance to get creative. Use heart-shaped sprinkles, pink sugar crystals, or a mix of your favorite Valentine’s themed edible decorations to make each pretzel unique.
5. Repeat for All Colors
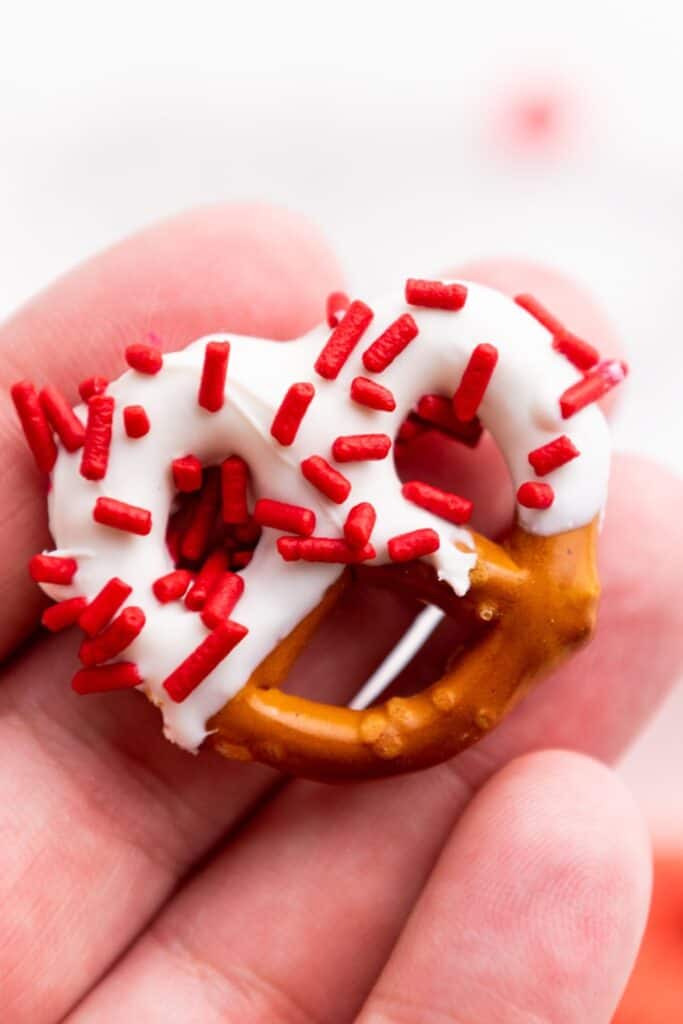
Alternate dipping pretzels into the pink, red, and white candy melts, decorating as you go. You can also drizzle additional colors over the dipped pretzels by letting some of the candy drip off of your spoon, for a fun, multi-colored effect.
6. Set the Pretzels
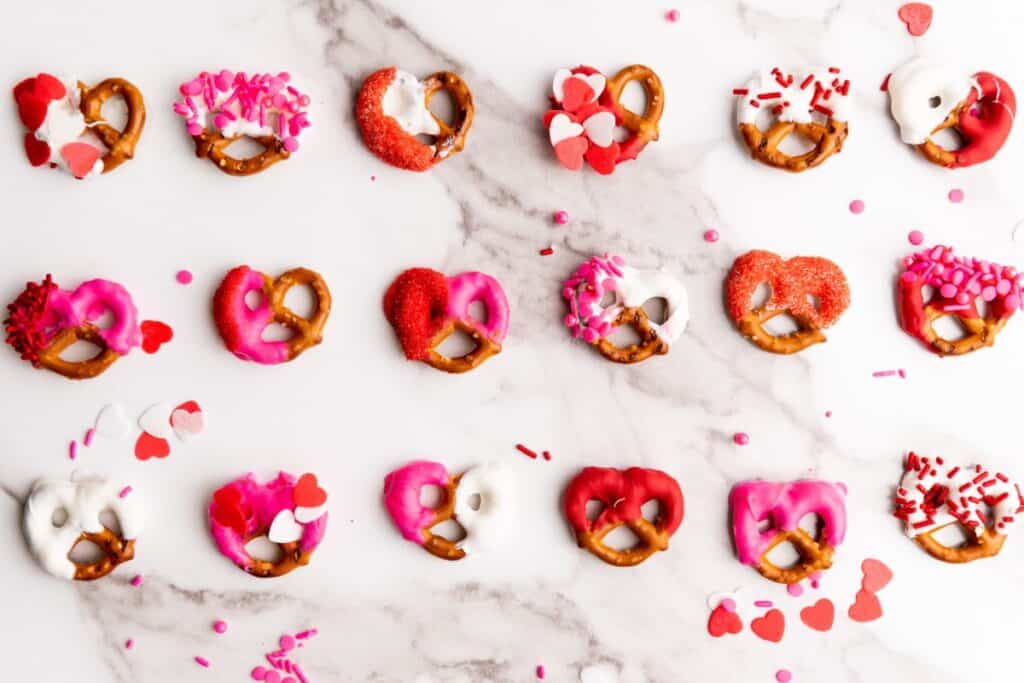
Once all the pretzels are dipped and decorated, let the candy harden.
If you’re short on time, or your kitchen is quite warm, place the baking sheet in the refrigerator for about 30 minutes to harden the candy coating.
However I’ve found a couple of things to consider before putting them in the fridge:
- Potential for Sweating: If left in the fridge for too long or when brought back to room temperature, the candy coating may sweat. Not the greatest if you’re planning on packaging them up.
- Texture: Allowing the pretzels to set at room temperature results in a smoother, more stable candy coating at times.
7. Serve & Enjoy
Once the candy coating is set, your Valentine’s Day Pretzels are ready to enjoy! Serve them on a party platter, package them in treat bags, or share them as a sweet surprise with loved ones.

Tips & Notes:
- Customize Your Colors: Swap out the pink, red, and white candy melts for other colors to match different holidays or themes.
- Thin the Candy Melts: If the candy melts seem too thick, add 1 teaspoon of vegetable shortening to achieve a smoother consistency.
- Double Dip for a Thicker Coating: If you prefer a thicker candy layer, allow the first coat to set and then dip the pretzel a second time before adding sprinkles.
- Work Quickly: Add sprinkles immediately after dipping each pretzel, as the candy coating hardens quickly.
- Store Properly: Store your Valentine’s Day Pretzels in an airtight container at room temperature for up to a week. Avoid refrigerating for long periods, as this can cause the coating to sweat.

Fun Valentine's Day Pretzel Treats To Share
Add a dash of sweetness and a sprinkle of love to your Valentine’s celebrations with these easy Valentine’s Day Pretzels. These crunchy, candy-coated treats are as fun to make as they are to eat. With vibrant pink, red, and white colors and a pop of festive sprinkles, they’re the perfect way to spread a little appreciation.
Ingredients
- 12 oz (340 grams) of mini pretzels (or use any shaped pretzels you like)
- 3 oz (85 grams) pink candy melts
- 3 oz (85 grams) red candy melts
- 3 oz (85 grams) white candy melts
- Sprinkles (of your choice)
Instructions
1. Prepare Your Workspace
Line a baking sheet with parchment paper or wax paper. This will be where you place your dipped pretzels to cool and set. Set up your dipping station with small bowls of sprinkles.
2. Melt the Candy Melts
Divide the candy melts into three microwave-safe bowls: one for pink, one for red, and one for white. Then microwave each bowl of candy melts according to the instructions on the package.
Generally we like to do this in 30 second intervals on 50% power or the defrost setting, stirring between the intervals.
Continue microwaving and stirring until the candy melts are fully melted and smooth. Be careful not to overheat them, as this can cause the candy to seize and harden.
3. Dip the Pretzels
Using a fork or your fingers, dip each pretzel into one of the melted candy colors, ensuring it is fully coated. We've found it's easier to use our fingers, especially if the kids are helping out.
Lift the pretzel out of the candy and gently tap it against the edge of the bowl to remove excess coating. Then place the dipped pretzel onto the prepared baking sheet.
4. Decorate with Sprinkles
While the candy coating is still wet, sprinkle your chosen decorations over each pretzel. This is a great chance to get creative. Use heart-shaped sprinkles, pink sugar crystals, or a mix of your favorites to make each pretzel unique.
5. Repeat for All Colors
Alternate dipping pretzels into the pink, red, and white candy melts, decorating as you go. You can also drizzle additional colors over the dipped pretzels by letting some of the candy drip off of your spoon, for a fun, multi-colored effect.
6. Set the Pretzels
Once all the pretzels are dipped and decorated, let the candy harden.
If you're short on time, or your kitchen is quite warm, place the baking sheet in the refrigerator for about 30 minutes to harden the candy coating.
However I've found a couple of things to consider before putting them in the fridge:
- Potential for Sweating: If left in the fridge for too long or when brought back to room temperature, the candy coating may sweat. Not the greatest if you're planning on packaging them up.
- Texture: Allowing the pretzels to set at room temperature results in a smoother, more stable candy coating at times.
7. Serve & Enjoy
Once the candy coating is set, your Valentine’s Day Pretzels are ready to enjoy! Serve them on a party platter, package them in treat bags, or share them as a sweet surprise with loved ones.
Notes
- Customize Your Colors: Swap out the pink, red, and white candy melts for other colors to match different holidays or themes.
- Thin the Candy Melts: If the candy melts seem too thick, add 1 teaspoon of vegetable shortening to achieve a smoother consistency.
- Double Dip for a Thicker Coating: If you prefer a thicker candy layer, allow the first coat to set and then dip the pretzel a second time before adding sprinkles.
- Work Quickly: Add sprinkles immediately after dipping each pretzel, as the candy coating hardens quickly.
- Store Properly: Store your Valentine’s Day Pretzels in an airtight container at room temperature for up to a week. Avoid refrigerating for long periods, as this can cause the coating to sweat.
Nutrition Information:
Amount Per Serving: Calories: 0Total Fat: 0gSaturated Fat: 0gTrans Fat: 0gUnsaturated Fat: 0gCholesterol: 0mgSodium: 0mgCarbohydrates: 0gFiber: 0gSugar: 0gProtein: 0g
This website provides approximate nutrition information for convenience and as a courtesy only. Nutrition data is gathered from online calculators.


